01. Overview
topReady to begin
Please visit the demo page to see all the theme sections and decide what do you want to use.
Acora WordPress Photography Theme it is an unique and powerful WordPress theme for photographers that allows to display images in various ways and I believe it is all that a photographer needs to showcase it's portfolio and much more.
This documentation explains the theme features and how to use them. If you already know how to use a WordPress theme and how to administrate WordPress this should be fairly easy to understand, for less experienced WordPress users it will be easy to follow this documentation.
Each section has a detailed description so if you like you can skip to the section that you are interested, but it is a good idea to read it in order there is a lot of info available that is important.
important notes
Initially I coded the theme so that it created custom images from the media library images, but in the single portfolio custom post type case it turned out a bad idea because it is impossible to create with code a smaller version of an image and to look the same as the original, not to mention that most of the time the image is not resized perfectly so the best way is for the portfolio section to have the best possible quality Acora will use the original image that is uploaded this way it will retain the exact quality and size of the image. With this being said, the best practice is to save just one image with a size between 1800px and 2200px in width or height at your desired quality and only upload that image, this will make sure your images will look perfect on both mobile and PC, this image will be used for portfolio and the user will see the best possible image version with the exact size and quality that you added, for the rest of the content Acora will create custom size images to optimize the loading time and overall performance so you will not have to upload any other image version.
Save the logo at an acceptable size, please make sure it's height is not larger then 80px for better loading time and performance.
If you already have images in the media library that you want to use that were there before installing the theme they have to be regenerated, this is done by using a plugin that is installed in the theme. Afer you install the theme and the required and recommended plugins go to Tools → Regenerate Thumbnails and click on Regenerate Thumbnails For All Attachments button and wait for the regenerate process to complete.
02. Getting Started
Installing The Theme
In this section, I will walk you through a friendly process of setting up the theme in a way that’s correct and trustworthy.
- The process of installing WordPress is quite easy and friendly, no need to worry about that. Most of the web hosts providers give you a helping hand and automatically achieve this first step so you can immediately start playing with the content. However, if it’s your first time dealing with it and you need an in‐depth guideline, we highly recommend to check out this one.
- Once you are done with the previous step, all you have to do next is download the theme from ThemeForest.
- Go to the WordPress Dashboard and navigate to Appearance → Themes. Click Add New button at the top of the page and afterward go to the Upload one.
- To upload the file just choose the acora.zip file from the main zip file downloaded earlier and click Install Now
- Once the file has is uploaded, click the Activate link.
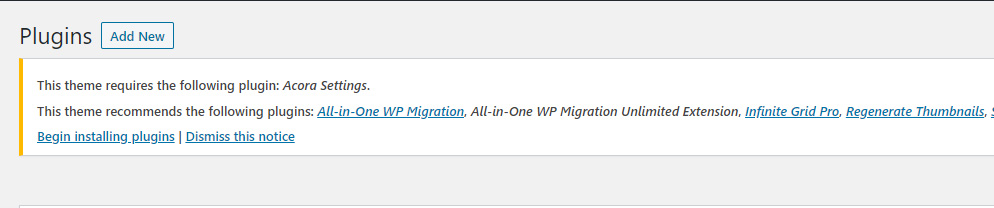
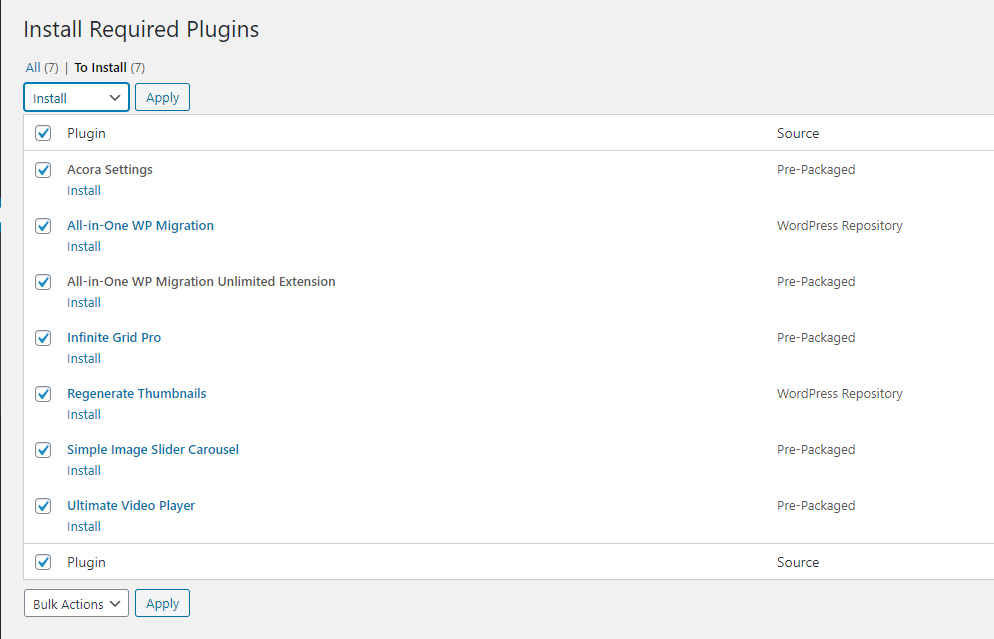
- After theme activation, all you have to do is to install and activate the plugins that provide the needed functionality for your site. Just follow the top banner instructions and you should be ready to go.
- After the theme is installed please install all pugins that are required and activate them, after the plugins are installed return to dashboard. Please note that if you want to use the enitre theme bundle please install and activate all included plugins.
- To have access to updates use the Envato Market WordPress Plugin, install the plugin and follow the instructions on this page, once a new update is ready you will be notified in the dashboard and you can install it. One extra step that has to be done after the update is ready is to uninstall and delete the Acora Settings plugin and install it again. That's it your update is ready.
Install Demo Content
The demo content covers two main aspects that you should consider: it presents the strengths of our theme, and it showcases the smart features we provide. It is a good way to to see how everything was added.
Please note that if you already have any content in your site like posts, pages, images etc they will be deleted and replace with the demo content, also the login WordPress login username and password will change so after the demo content is installed make sure you set a new user and password. The demo username is tibi_diablo@yahoo.com and password is acora_demo@132.
Demo media content is under copyright, you’re not allowed to use it in any personal or commercial way.
First download the demo from here and seve it on your computer.
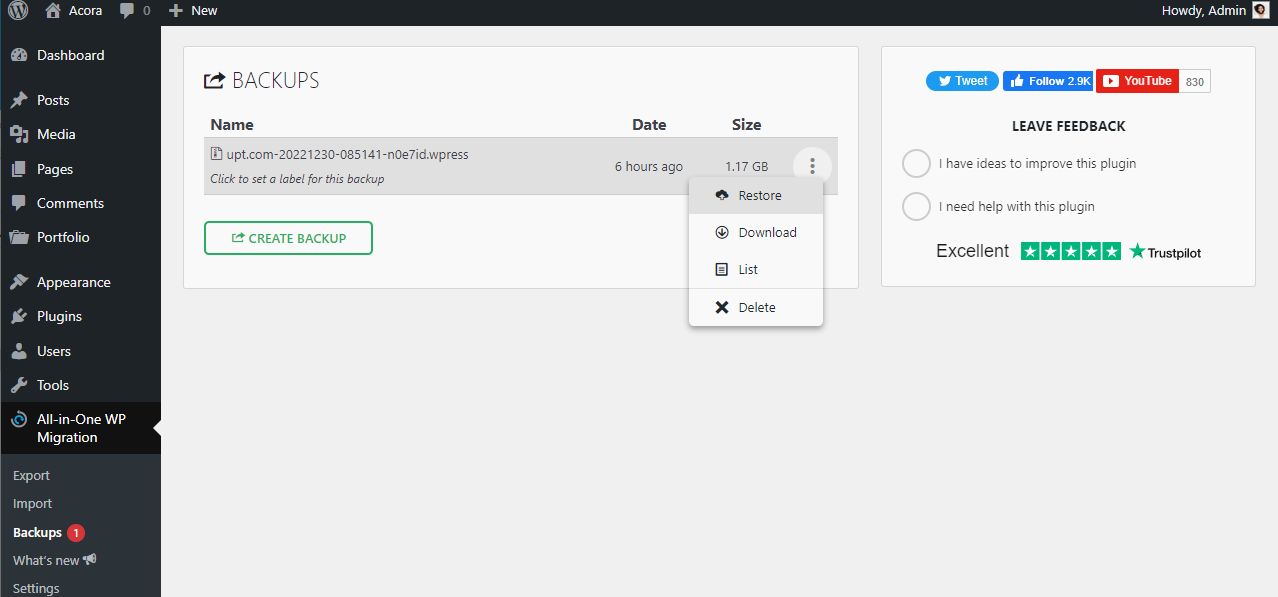
Acora theme is using the All In One WP Migration Plugin which comes with the theme installation, after you download the demo.wpress use FTP to connect to your server open the wp-content/ai1wm-backups and upload the demo.wpress there. After this step go into the All In One WP Migration Plugin->backups in the WordPress dashboard and restore the backup.
Navigation Menu
Go to Appearance → Menus and add previously created Homepage, Portfolio and Blog pages to the main navigation menu. If you like to read more about this please visit this WordPress documentation.
Setting Up Homepage
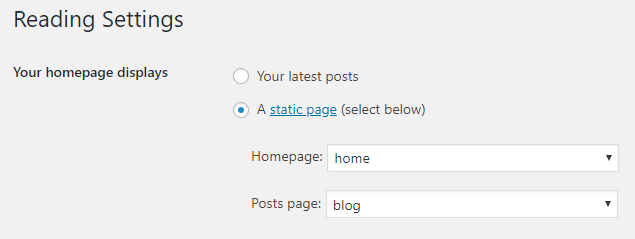
Start by creating a new page which will serve as your homepage. Go to Pages → Add New, set the title and click Publish. Now navigate to Settings → Reading and choose A static page next to the Front page displays option. From the Front page select box choose the page that you have just created. Save the changes. Now the page you have just created will act as your homepage. Next thing is to customize it. Acora has many page templates that can be set as the homepage Pick one that you prefer and goto according segment of this documentation to find out how to setup it.
Setting Up Blog
Crate a new page by going to Pages → Add New, specify page name for example blog and click Publish. Now navigate to Settings → Reading and from the Posts page select box choose the page you have just created. Save changes. Now if you visit the page, you should see a list of your blog posts if any exists.
Setting Up Portfolio
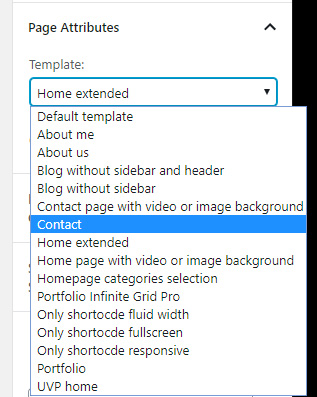
Create a new page by going to Pages → Add New, set the title to Portfolio and locate Template select box. Select the Portfolio template page. You can change it anytime. Publish the page and head to portfolio section of this documentation to find out how to add portfolio items.
03. Portfolio
The portfolio grid arranges your projects in a predefined grid. You can change the grid thumbnail size by going to Acora → Theme Settings → Portfolio Settings and set the Archive Grid Settings the Thumbnail Maximum Width and Thumbnail Maximum Height but I advice you to leave the default values, I made a lot of testing before choosing this values. There are also a few other useful settings that you can set in the Acora → Theme Settings → Portfolio Settings based on your preferences for example to choose the grid type which can be classic grid or infinite grid, please note that if you want to use the infinite grid it will not work unless all categories have at least 9 projects in it, if this not applies the classic grid will be used by default.
All your projects will be displayed in the portfolio page you have created on in the overview section.
Adding Projects Categories
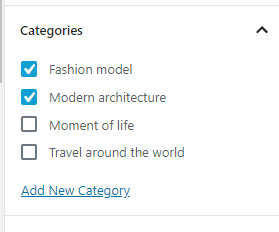
Before adding any projects is required to add the projects categories, this are used to filter the portfolio and in other sections of the theme. To create a category go to Portfolio → Categories and add as many categories as you need.
You can assign one or more categories to your project on a project new or edit screen. Go to Portfolio, choose the project you wish to edit or create a new one. On the right hand side there is the Categories Widget, where you can choose one or more categories.
Adding Portfolio Items
To add a portfolio item go to Portfolio → Add New, and specify the title of your project then scroll down to the Project Options.
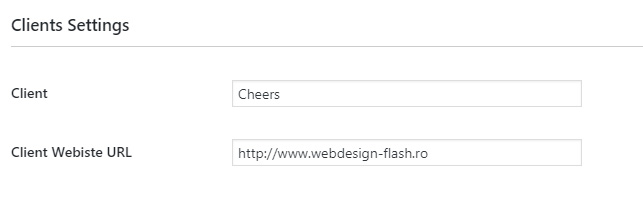
Adding Client
The client is optional if you want to add a client just type the client name in the client input. If a client webiste URL is specified when the client is clicked the client page will be opened in a separate window. If you don't need a client just leave both inputs empty.

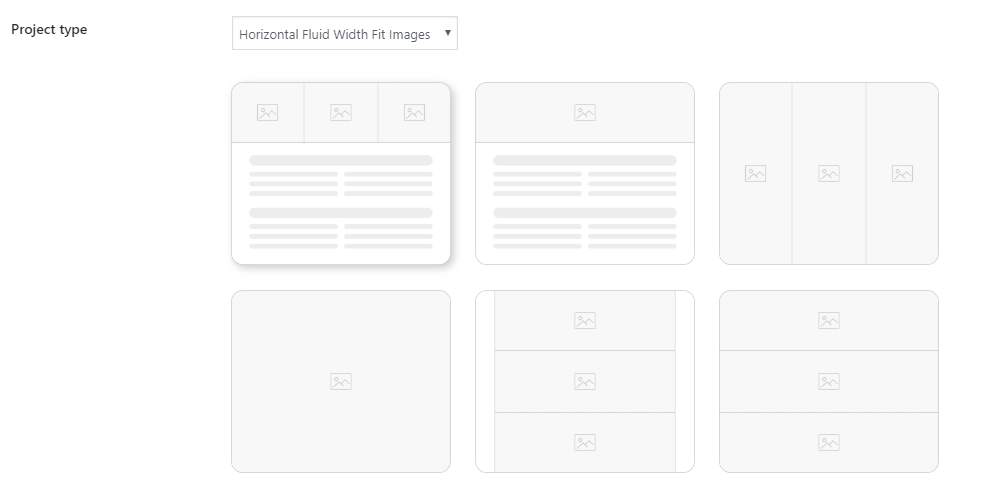
Choosing Project Type
There are six project types that can be used, select the one that you think you like best using the select options. In the same section Image Slider Settings there are other settings that can be set in each project like show or hide buttons, slideshow, etc.
- Horizontal Fluid Width Fit Images: This layout type displays the image slider in fluid width setting the image slider width to the browser viewport width and shows as many images as possible example here.
- Horizontal Fluid Width Full Images: This layout type displays the image slider in fluid width setting the image slider width to the browser viewport width and shows one image at a time example here.
- Horizontal Fullscreen Fit Images: This layout type displays the image slider in fullscreen setting the image slider width and height to the browser viewport width and height showing as many images as possible example here.
- Horizontal Fullscreen Full Images: This layout type displays the image slider in fullscreen setting the image slider width and height to the browser viewport width and height showing one image at a time example here.
- Vertical Fit Images: This layout type displays the image slider in the page content setting the image slider width to the page content width showing the images from top to bottom vertically example here.
- Vertical Full Images: This layout type displays the image slider in fullscreen setting the image slider width and height to the browser viewport width and height showing the images from top to bottom vertically example here.
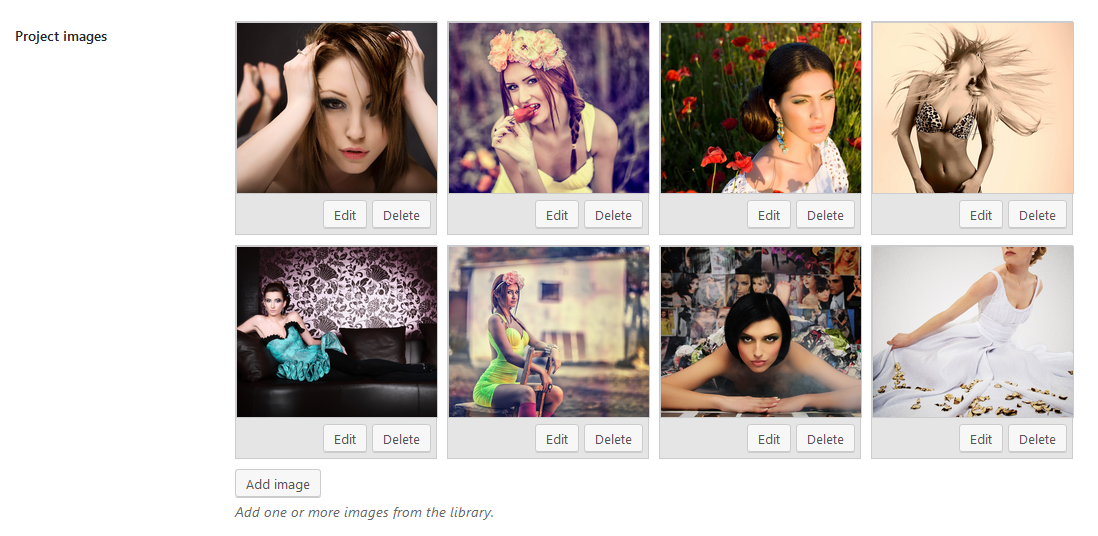
Adding Images
Like explained in the overview you will only be needing one image, there is no need to create thumbnails because this is done by the theme so upload your best quality image (I advice to use images between 1800px and 2200px in width or height based on the iamge format (portrait or landscape) is a good size it will load fast and it will look perfect on all screens.
Just click on the add image button and add as many images as you like.
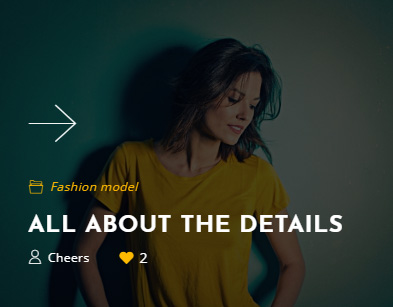
Another important feature of the portfolio is the featured project, if the project is set to featured that image will be added in the portfolio archive grid, basically it is the first image that will be visible in the archive grid thumbnail.
There are other settings and features in this section that are self explanatory.

04. Blog
Acora blog is very well done, I have put a lot of work into it and I am sure you will be pleased. Setting up a blog page is explained in the setting up blog section.
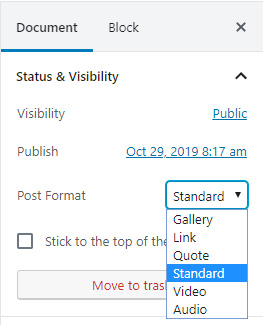
Acora offers 6 post formats: standard, link, audio, video, quote and gallery. To change post format locate a Post Format widget on a post editing page. Changing the post format reveals additional options at the bottom of the page that are associated with chosen post format.
Post Format: Standard
Standard post format has no options except for featured image. Setting featured image will get it displayed in blog index and on the post page itself.
Post Format: Gallery
Gallery post format allows display one or more images in a slider / carousel style, it is using the Simple Image Slider Carousel.
The gallery has many features it is best explained in a video tutorial.
Post Format: Link
Link post format shows a link in the featured image area. If you set the featured image, then the link will be overlaid on top of the image.
Link Post Options
Link URL – website address of the link button.
Title – link button title.
Description – short text displayed under the button.
Post Format: Quote
Quote post format displays a quote in the featured image area. If you set the featured image, then the quote will be overlaid on top of the image.
Quote Post Options
Quote – the quote.
Quote Author – quote author displayed under the quote in smaller font.
Post Format: Video
Video post format allows to play video files (mp4, youtube, vimeo, HLS / m3u8, 360°, google drive and much more), it is using the Easy Video Player to play the audio.
Video path – the video path, it can be added from the library or an external source.
Poster path – (optional) the poster path (jpg, jpeg, png), it can be added from the library or an external source.
Subtitle path – the subtitle path (.srt or .txt), it can be added from the library or an external source.
Post Format: Audio
Audio post format allows to play mp3 files, it is using the Easy Video Player to play the audio.
Audio path – the mp3 path, it can be added from the library or an external source.
05. Galleries
The galleries are created using three plugins that are also developed by me as well so everything is very optimized and packaged well, so this is a bonus.
Image Slider
The image slider is using an optimized version specially made for this theme of Simple Image Slider Carousel. I will call it SISC for simplicity.
A full video tutorial about how to use this plugin can be found here, please note there are some minor differences between the Acora version and the video tutorial version but the concept is the same. If you want to use this slider please watch the video tutorial.
SISC can be added in fullscreen to fill the entire browser viewport example here or in content for example in a page or a post example here.
Adding SISC in fullscreen
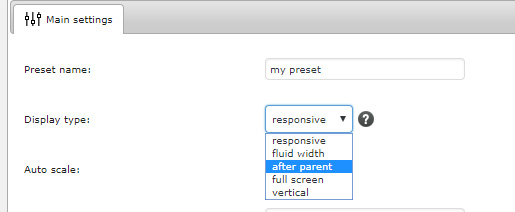
To add it in fullscreen create a new page set the page attribute to only shortcode fluid width, add a new preset in the SISC general settings tab and set the display type to after parent.
Adding SISC in content
To add it in content create a new page, add a new preset in the SISC general settings tab and set the display type to responsive or fluid width depending on which one you want to use.
After doing this and also adding a SISC playlist, add the shortcode in the page that you just created, publish the page and preview.

Infinite Grid Pro
The infinite grid pro is using an optimized version specially made for this theme of Infinite Grid Pro.. I will call it IGP for simplicity.
A full video tutorial about how to use this plugin can be found here, please note there are some minor differences between the Acora version and the video tutorial version but the concept is the same. If you want to use this grid please watch the video tutorial.
IGP can be added in fullscreen to fill the entire browser viewport example here or in content for example in a page or a post example here.
Adding IGP in fullscreen
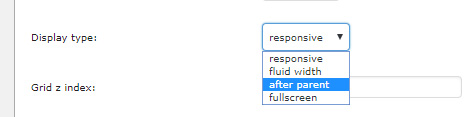
To add it in fullscreen create a new page set the page attribute to only shortcode fluid width, add a new preset in the IGP general settings tab and set the display type to after parent.
Adding IGP in content
To add it in content create a new page, add a new preset in the IGP general settings tab and set the display type to responsive or fluid width depending on which one you want to use.
After doing this and also adding a IGP playlist, add the shortcode in the page that you just created, publish the page and preview.
Ultimate Video Player
The ultimate video player is using an optimized version specially made for this theme of Ultimate Video Player. I will call it UVP for simplicity.
A full video tutorial about how to use this plugin can be found here, please note there are some minor differences between the Acora version and the video tutorial version but the concept is the same. If you want to use UVP please watch the video tutorial.
UVP can be added in fullscreen to fill the entire browser viewport example here or in content for example in a page or a post example here.
Adding UVP in fullscreen
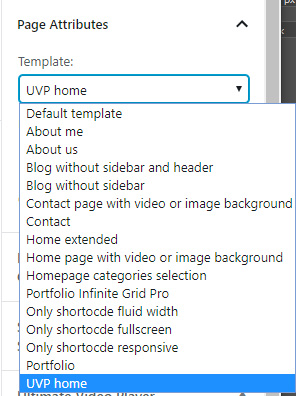
To add it in fullscreen create a new page set the page attribute to UVP Home, add a new preset in the UVP general settings tab and set the display type to after parent.
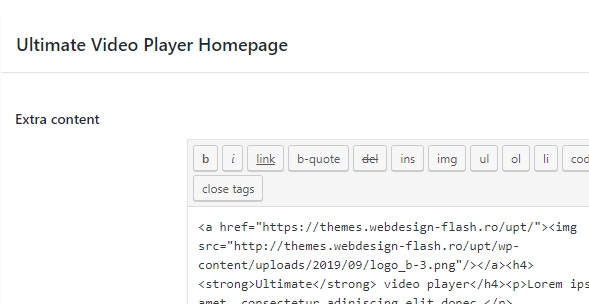
For the fullscreen display type is also possible to add a short info at the top right part of the playlist this is done in the UVP Home page at the bottom in the Ultimate Video Player Homepage meta box, if you don't want this just leave it empty.
Adding UVP in content
To add it in content create a new page, add a new preset in the UVP general settings tab and set the display type to responsive.
After doing this and also adding one or more UVP playlists, add the shortcode in the page that you just created, publish the page and preview.

06. Home pages
There are multiple home pages that can be used, all of them are explained in detial below.
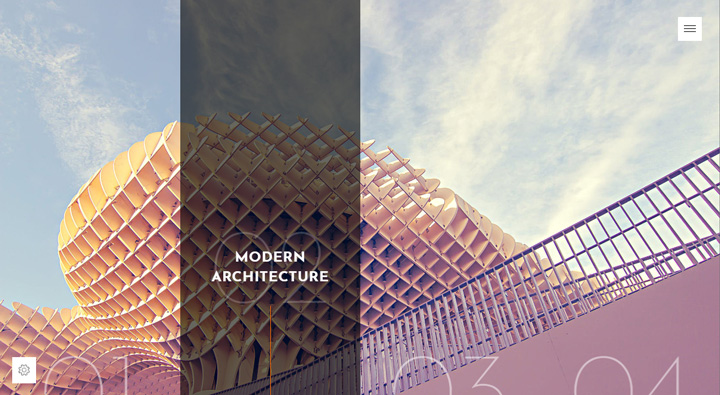
Category selection homepage
This page allows to display the portfolio categories in a fullscreen page, example here, it will select the first featured image from each category and display it as long with the category name. I have tested it up to eight categories and it works great, if you add more it will still work, but on a smaller screen it will change the display type to vertical because is not possible to fit all images horizontally.
To use this create a new page and set the page attributes to homepage category selection, publish the page and test, of course for this work the portfolio has to have categories and at least a project that has images.
Extended homepage
The extended homepage is a dedicated page for Acora that has multiple sections that can be added or removed. To create this type of page create a new page and set the the page attribute to home extended, scroll down to see the extended homepage settings, as a side note unfortunately this type of page is impossible to be built with blocks or a visual editor because of the its structure and design so I had to create a custom page builder that works well and is easy to use, all section of this page are explained in order below.
The images in this page are optimized by the theme, Acora is creating custom size images for this sections so just use any image from the library, be assured that the page will load fast and perform well.
Please make sure that all HTML text is added in the text editor not the visual editor.
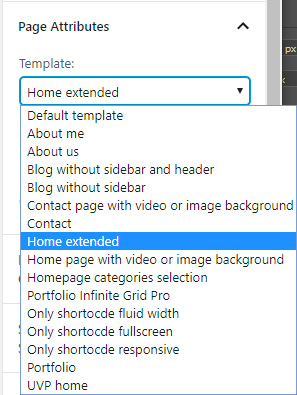
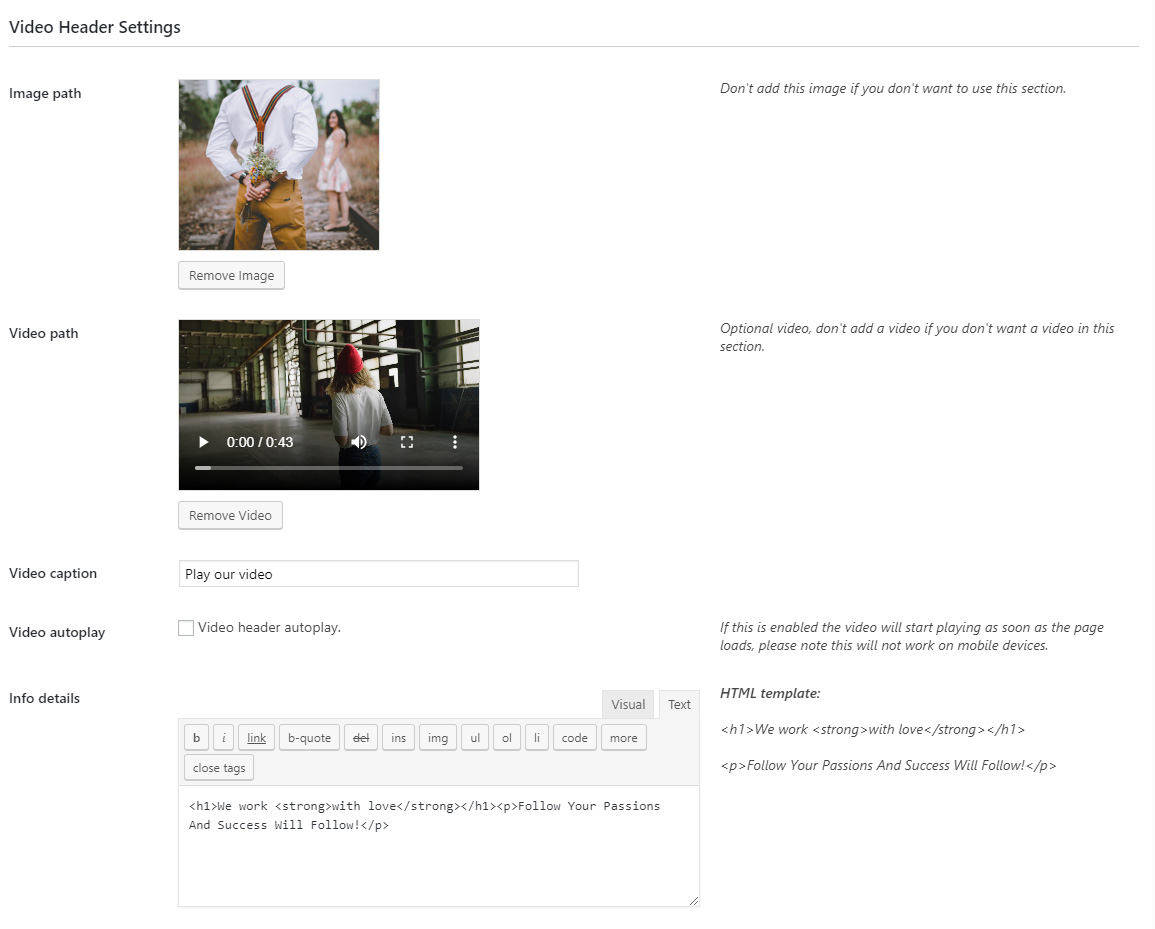
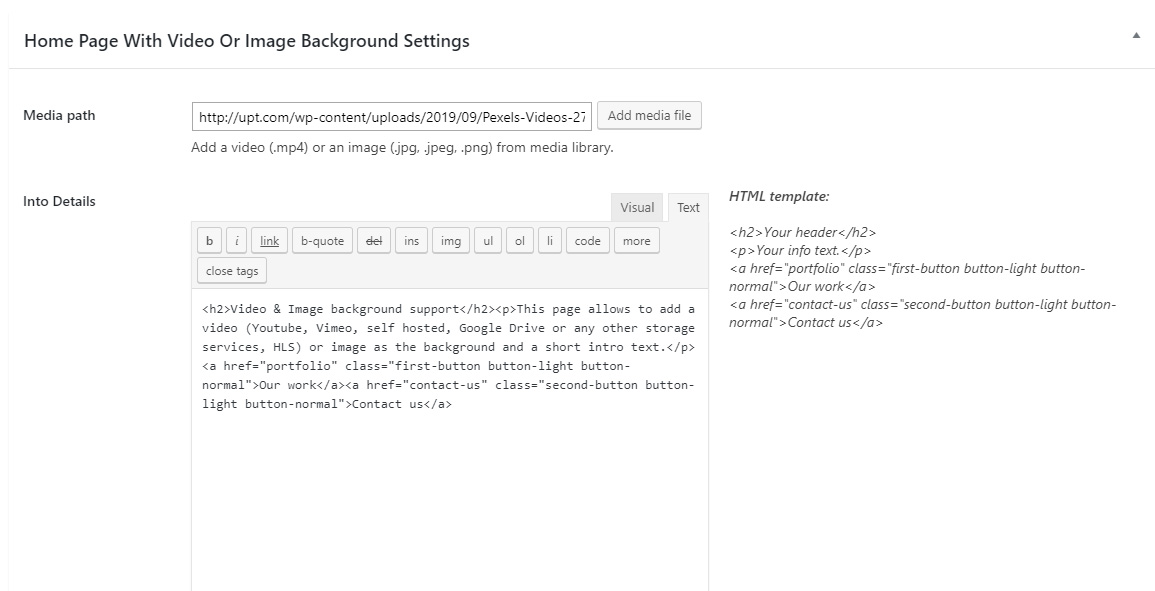
Image and video header
This section allows to add an image and an optional video with an optional video caption as the page header, if you don't want o use this section don't add an image. If you like to add some text in the info details just copy and paste the HTML template from the text editor right side and paste it in the text area and of course change the text with your own.

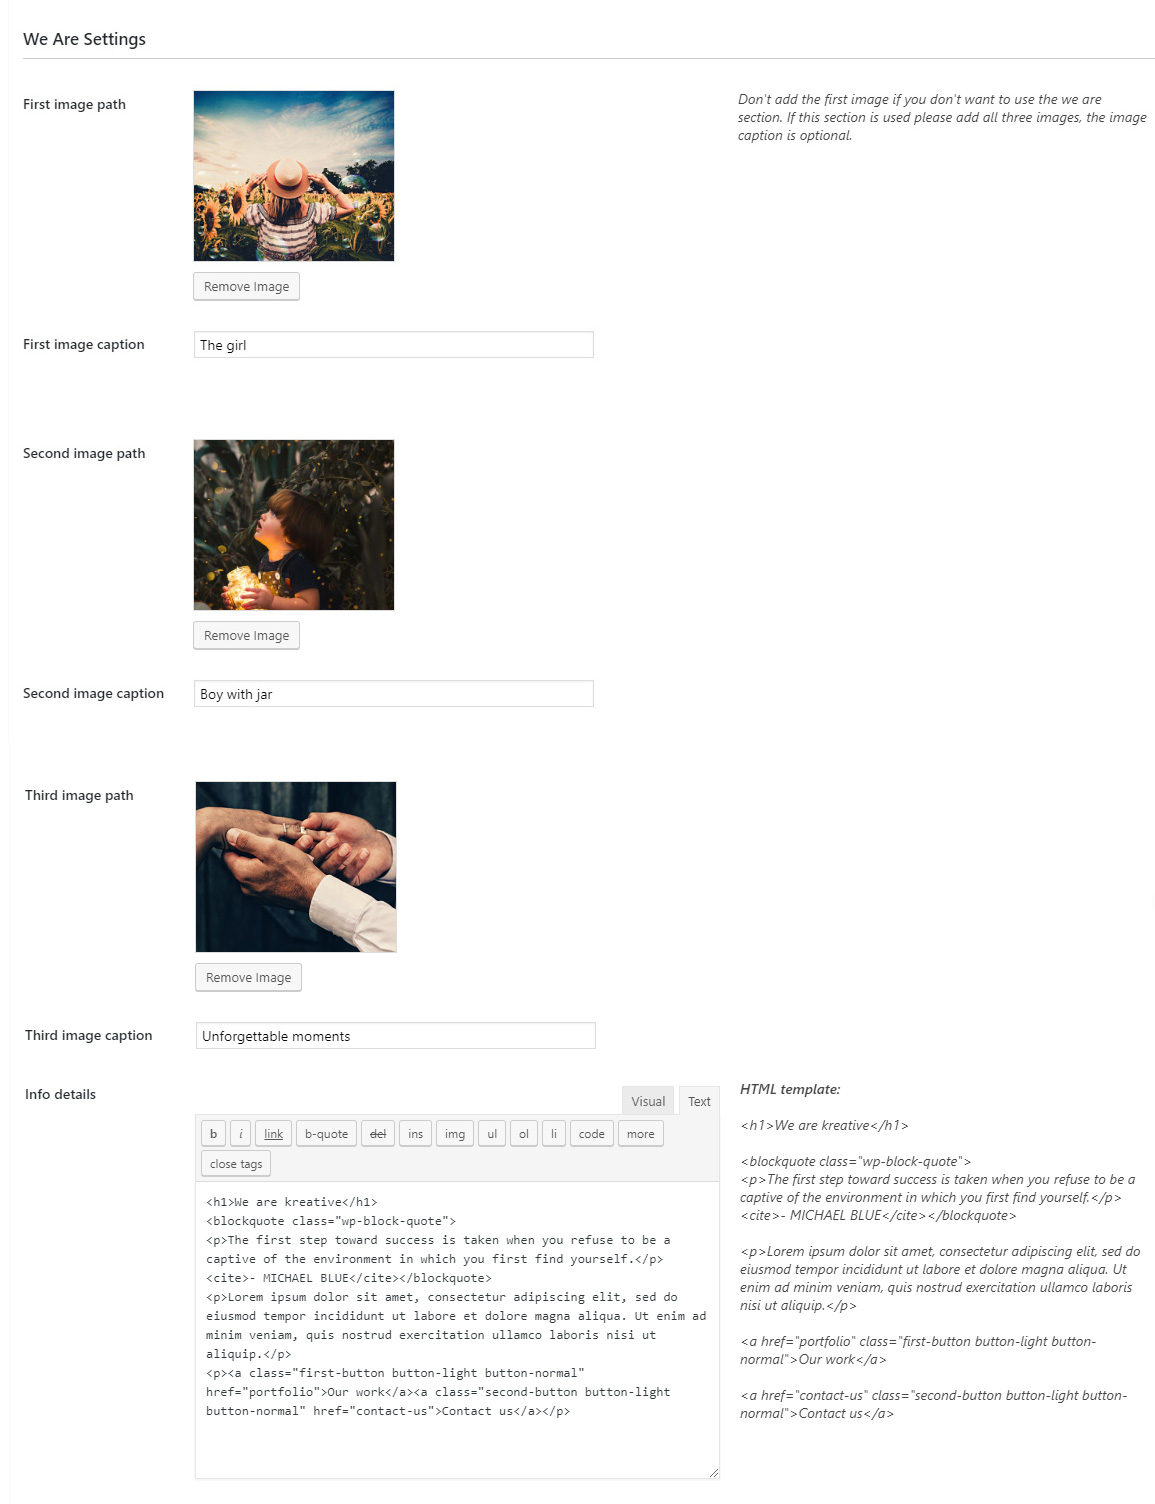
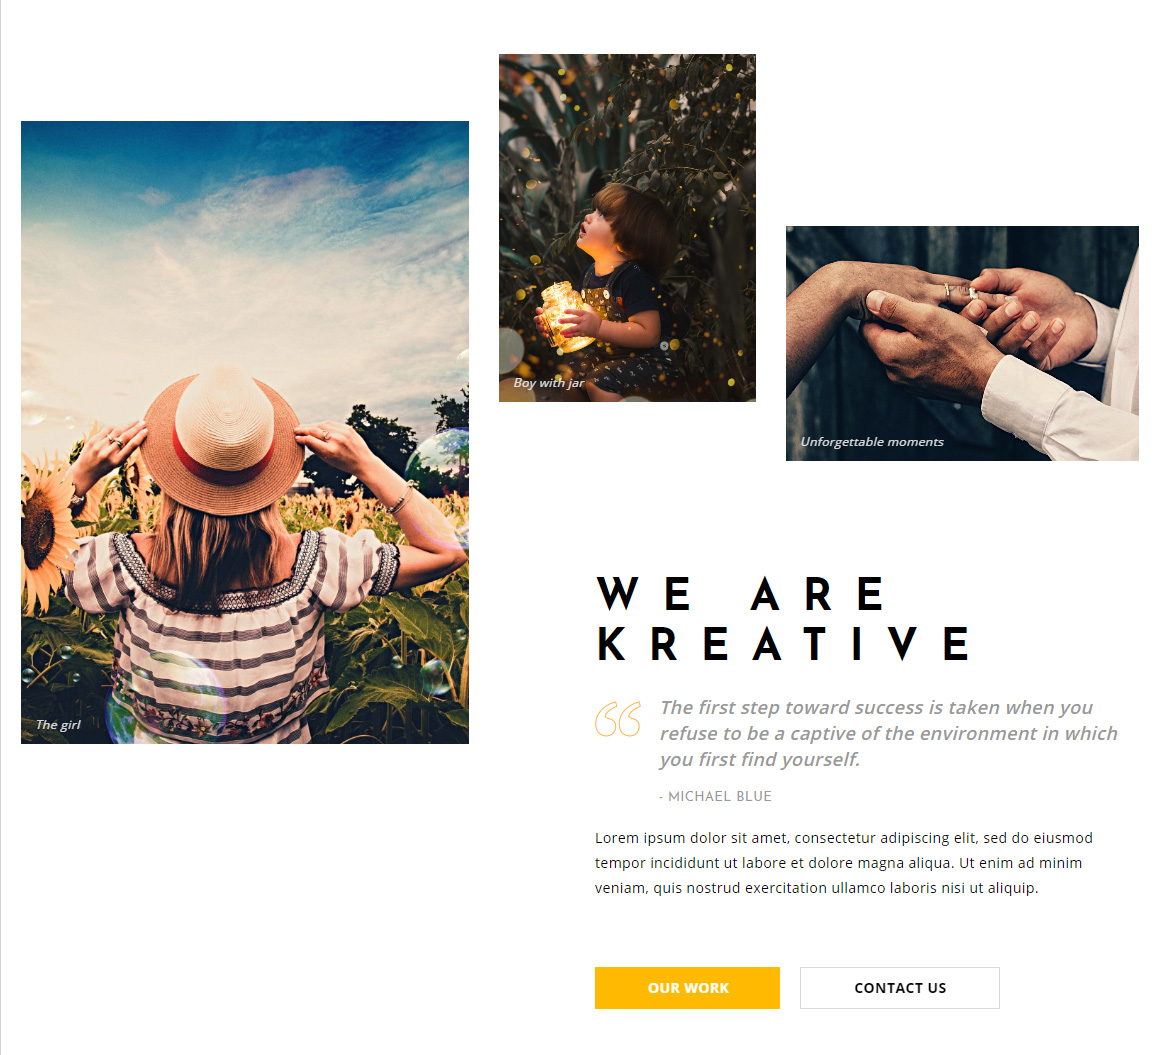
We are
This section allows to add three images and some text, don't add the first image if you don't want to use this section. For info details just copy and paste the HTML template from the text editor right side and paste it in the text editor and of course change the text with your own.
Our members
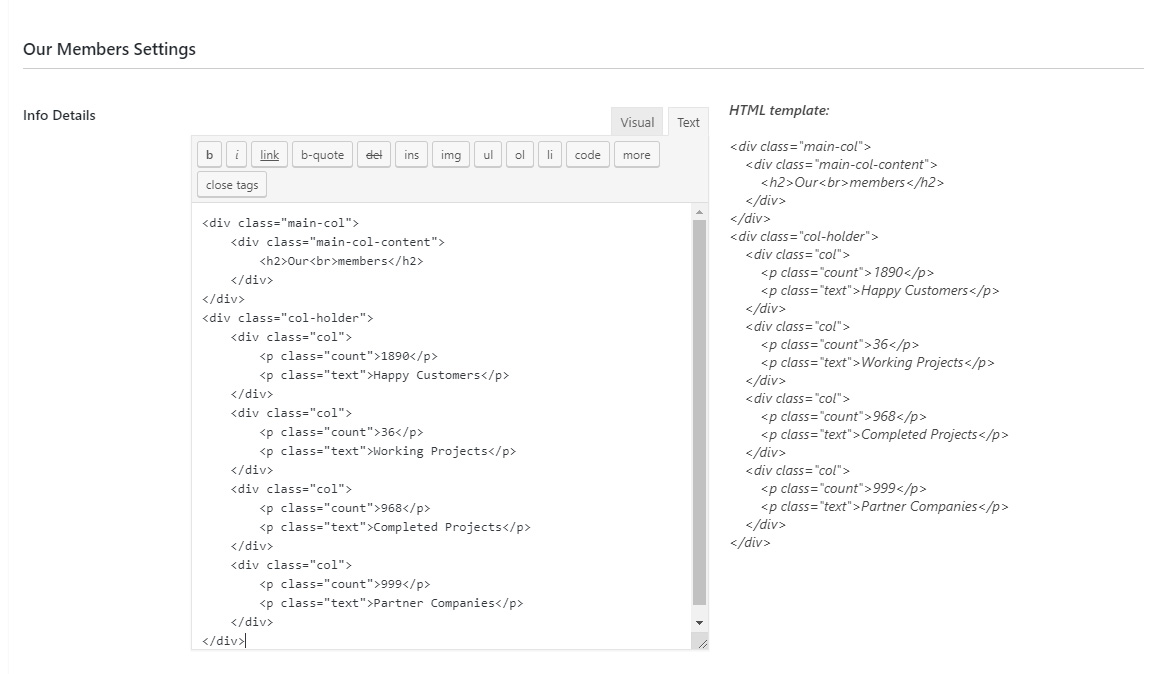
This section allows to add one or four colums with some basic info. Just copy and paste the HTML template from the text editor right side and paste it in the text editor and of course change the text with your own. Please note that it will work with one or four columns, just delete the column that you don't need. If you don't need this section leave the text editor empty.

Our story
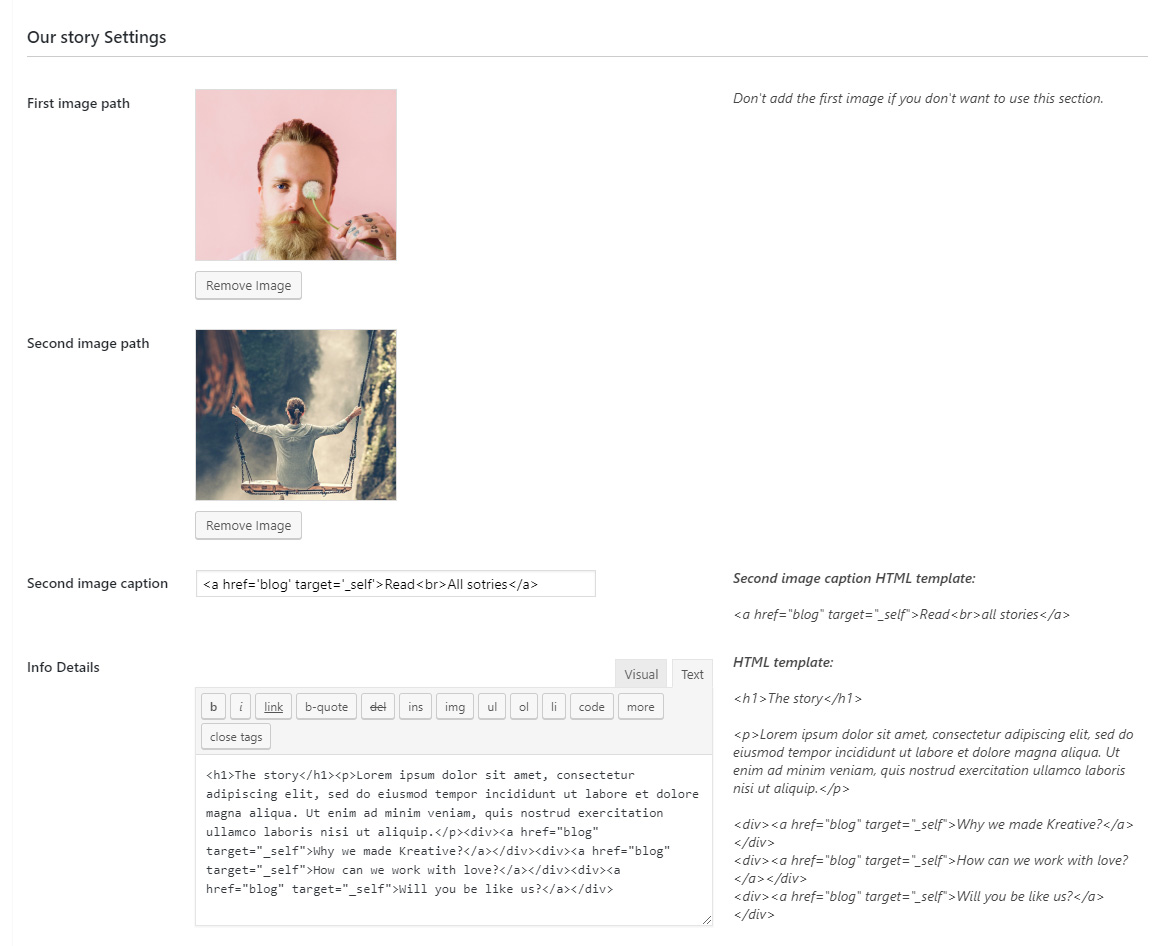
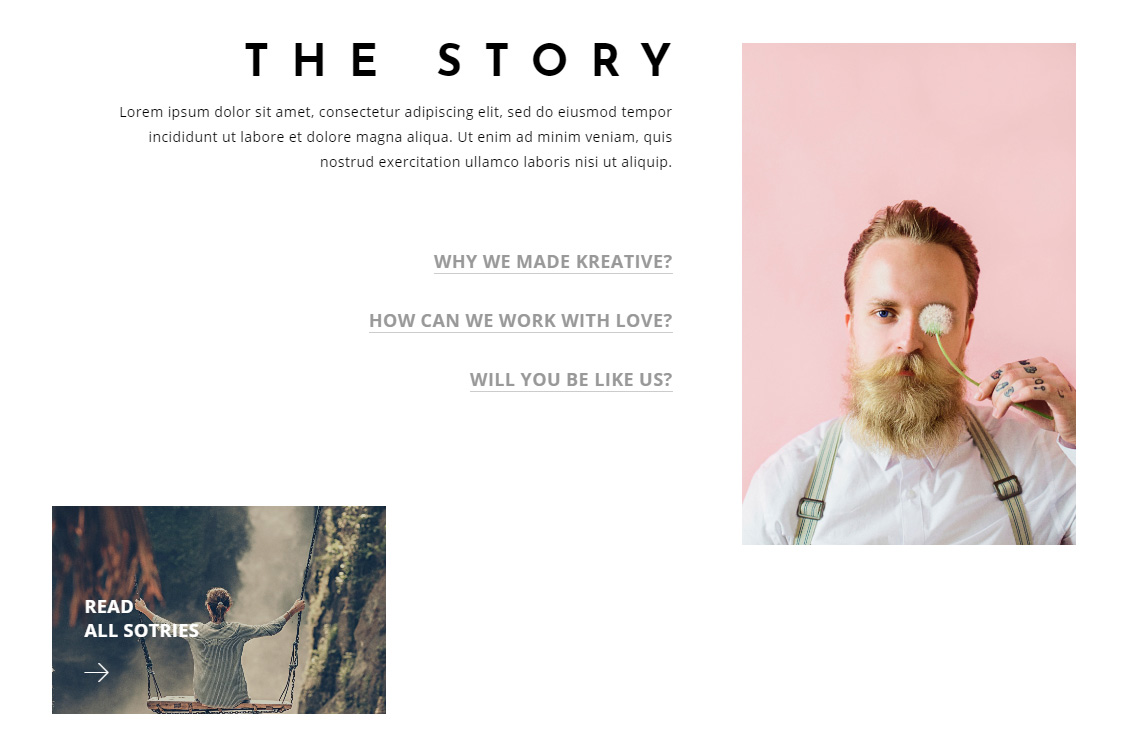
This section allows to add images and text. For the text copy and paste the HTML template from the text editor right side and paste it in the text editor and of course change the text with your own. If you don't want to use this section don't add the first image.
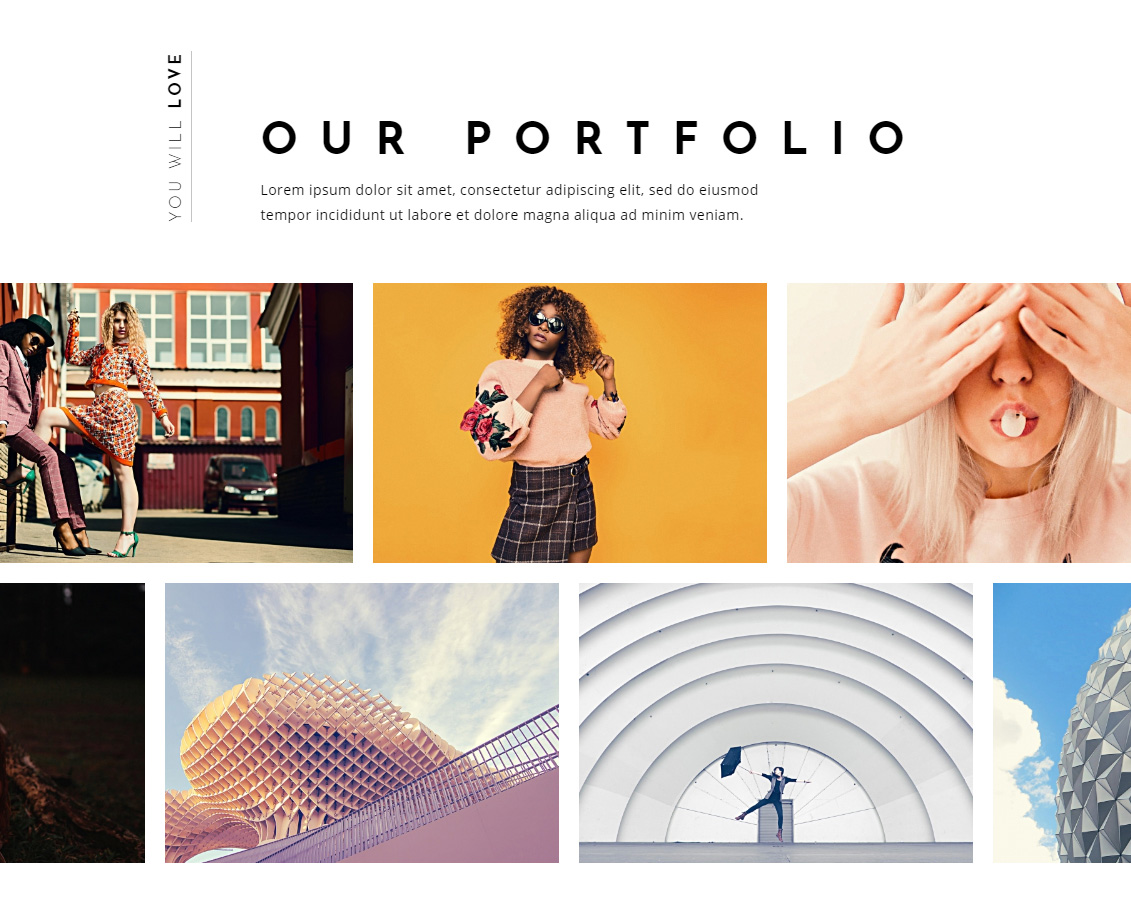
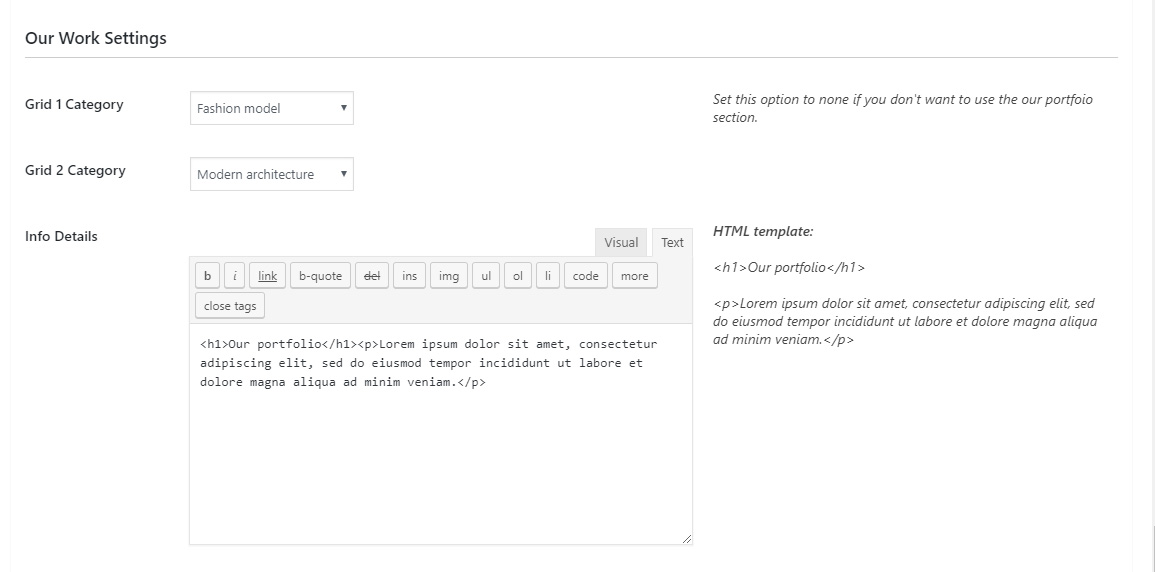
Our portfolio
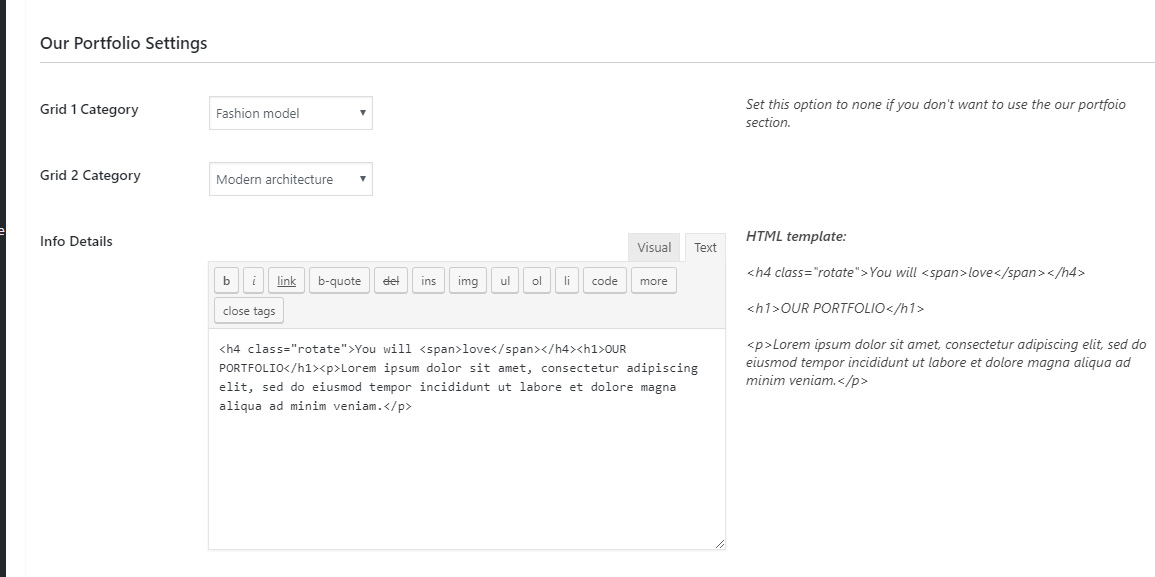
This section allows to one or two infinite one row grid carousels, the category can be set using the select box. For the text copy and paste the HTML template from the text editor right side and paste it in the text editor and of course change the text with your own. If you don't want to use this section set the grid category 1 to none.
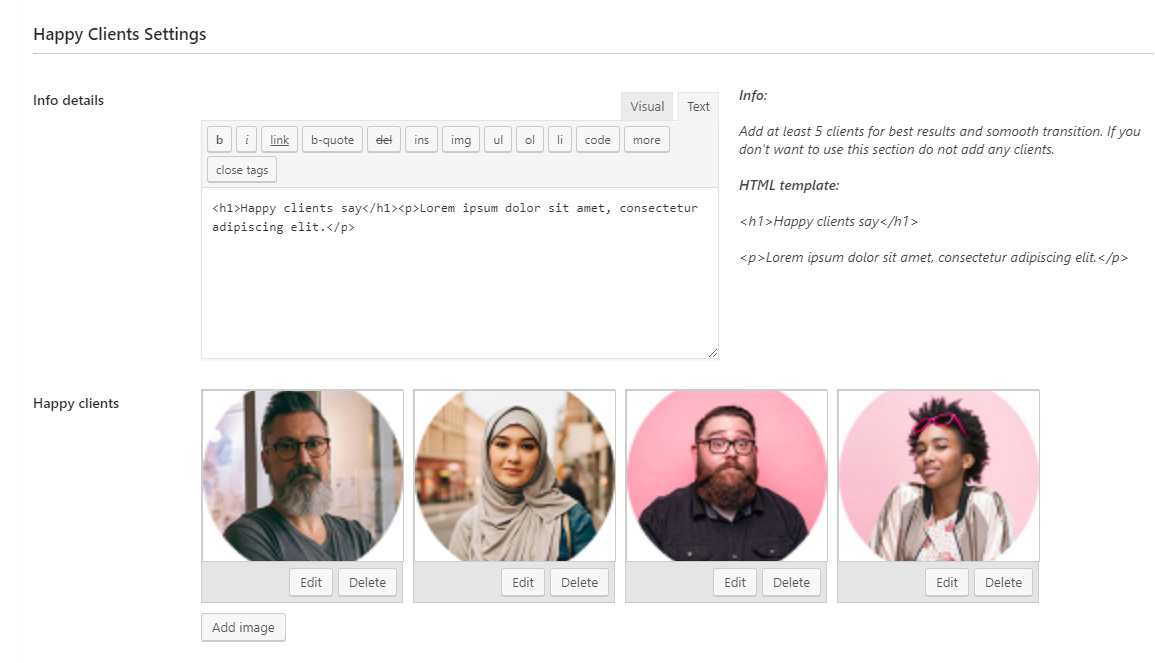
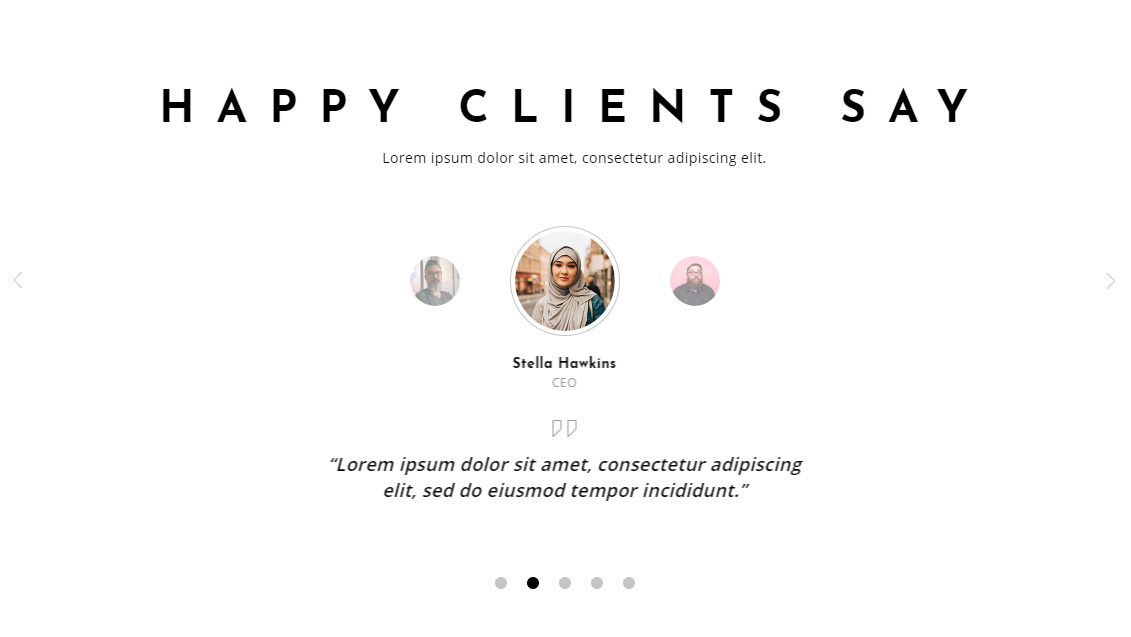
Happy clients
This section allows to add some info about what clients are saying, it can handle as many clients as you need and also add custom info for it. For the text copy and paste the HTML template from the text editor right side and paste it in the text editor and of course change the text with your own. If you don't need this section don't add any client.
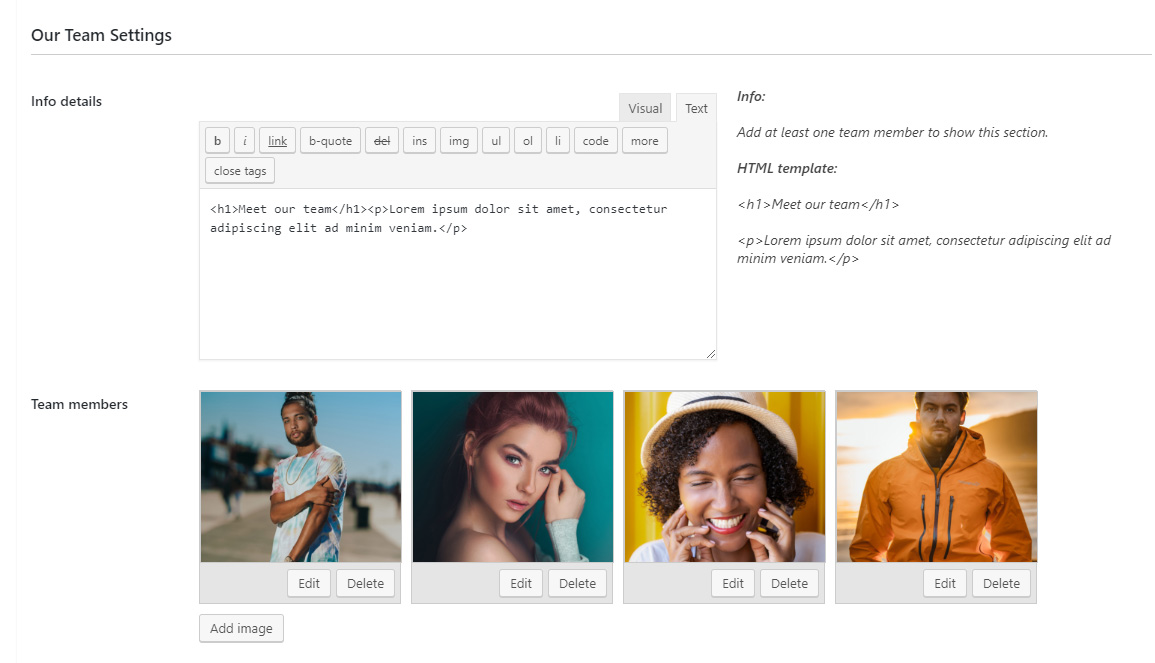
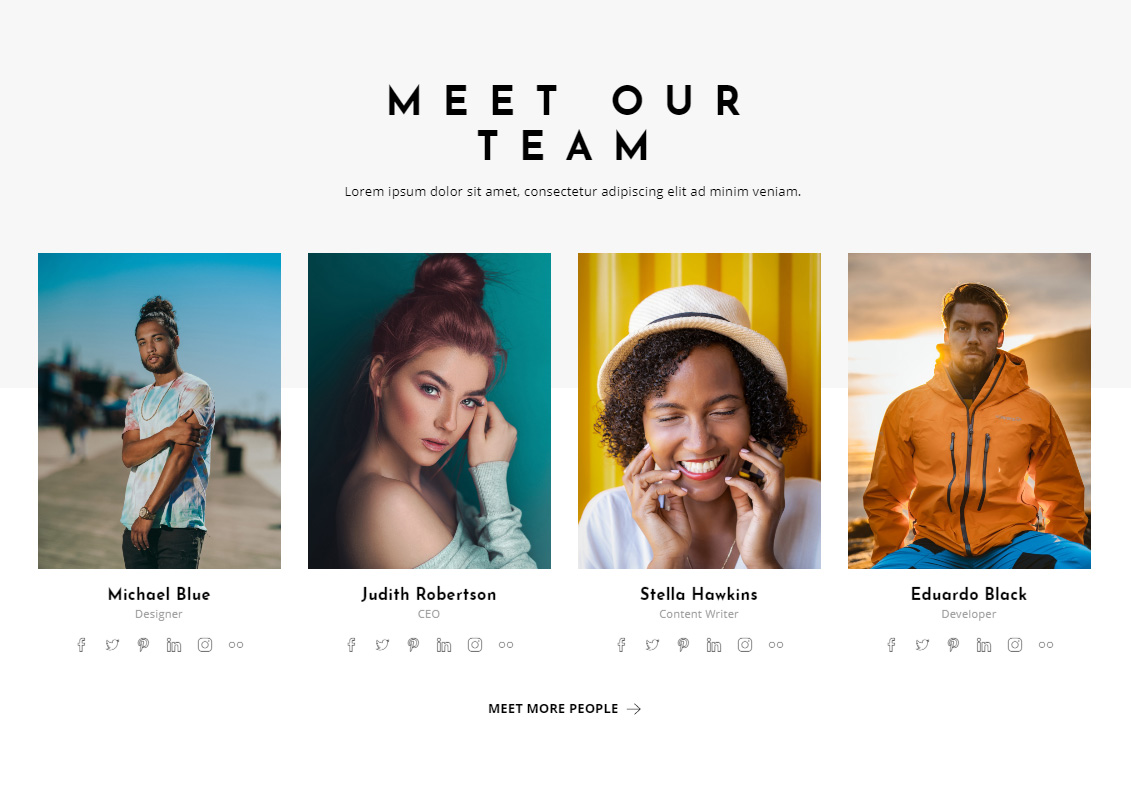
Our team
This section allows to add team members with a custom grid, it can handle as many team members as you need and also add custom info for it but to look perfect add four members. For the text copy and paste the HTML template from the text editor right side and paste it in the text editor and of course change the text with your own. If you don't need this section don't add any team member.
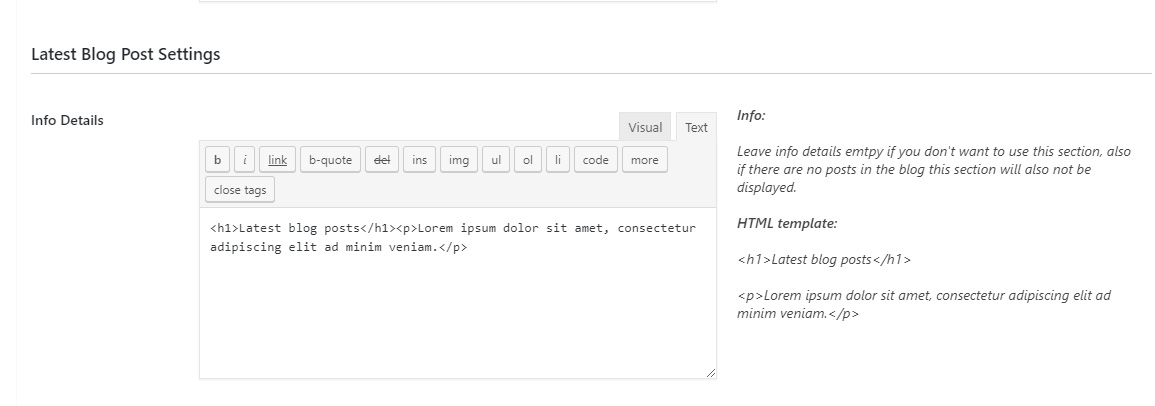
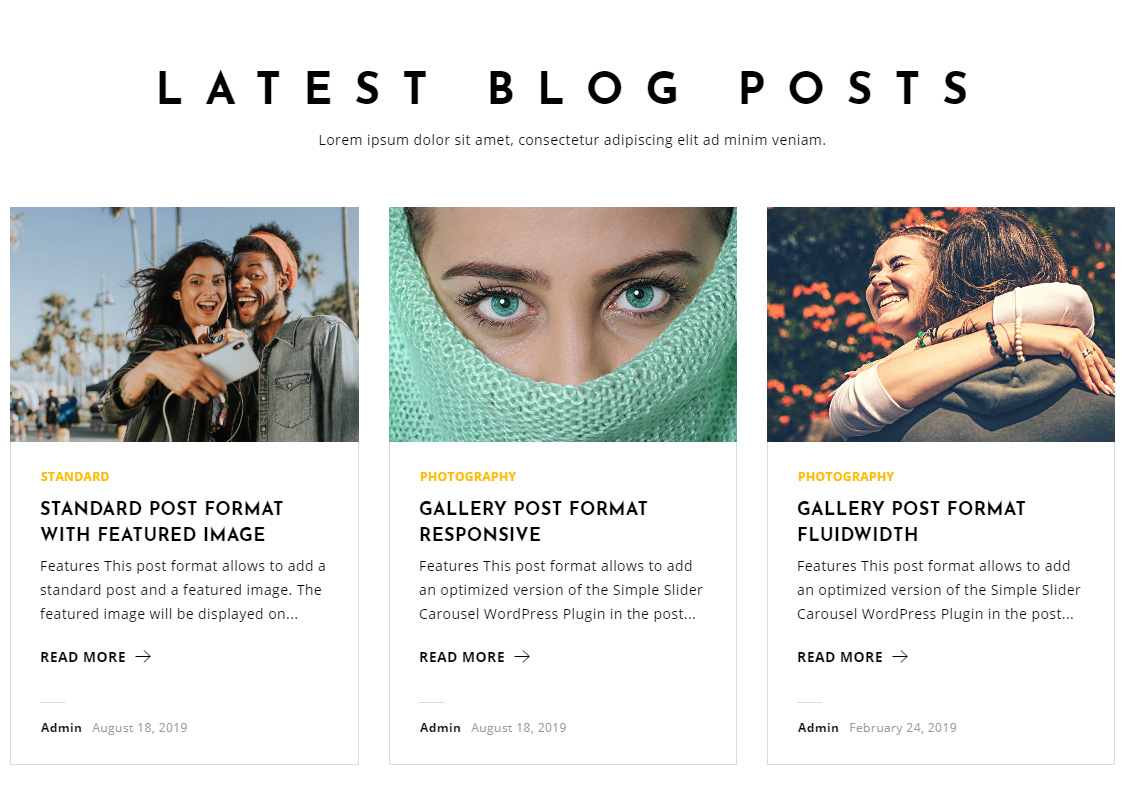
Latest blog posts
This section displays the most recent three blog posts. If you want to display this section copy and paste the HTML template from the text editor right side and paste it in the text editor and of course change the text with your own.
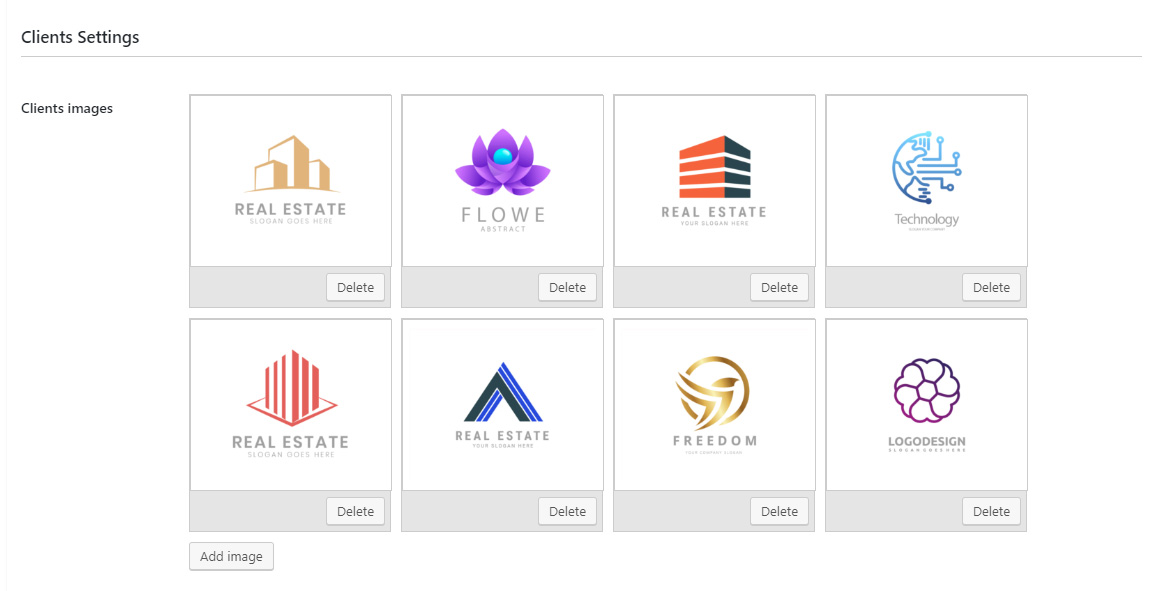
Clients
The clients section allows to add logo images that will run with a smooth linear animation also there is nice black and white effect on hover, you can add as many as you like. If you don't need this section don't add any client.

Instagram feed
To add this section just add the instagram feed user name in the instagram user name input.
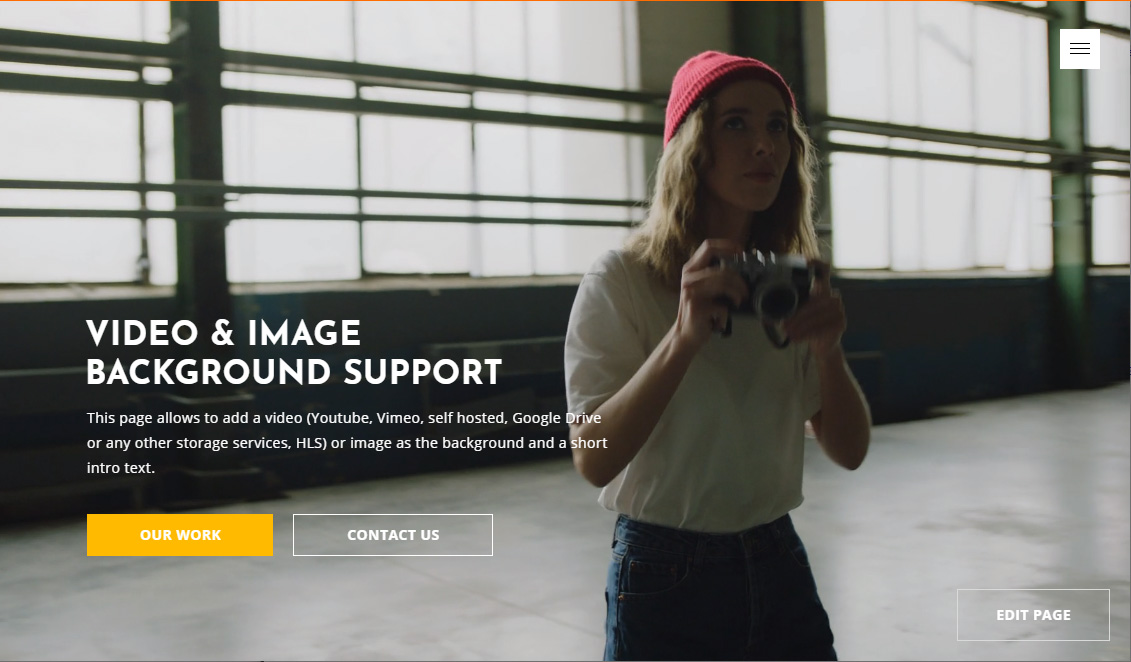
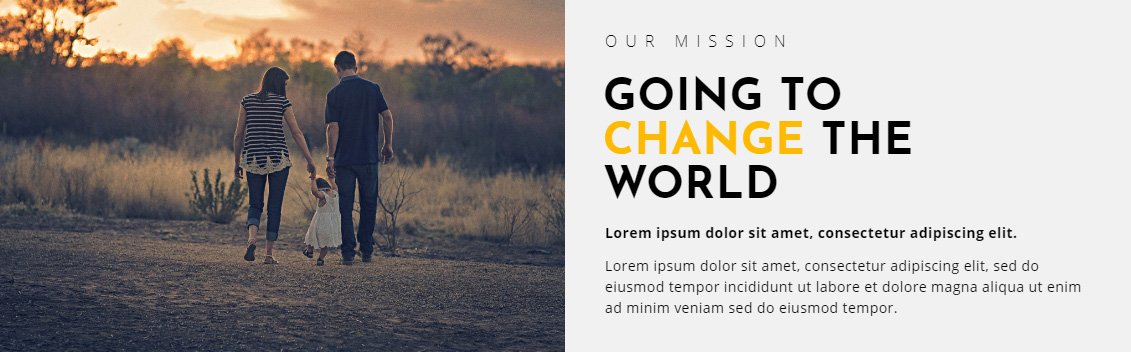
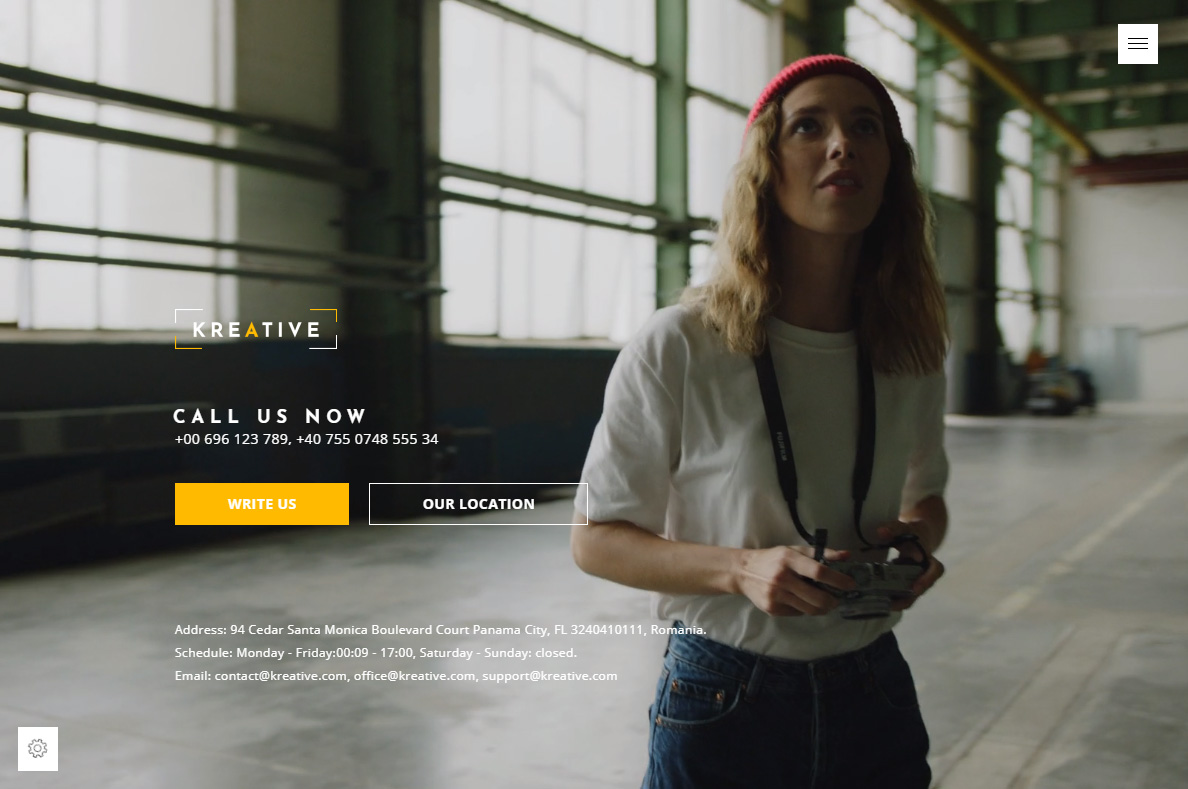
Video or image background homepage
This page type is displaying a full width and height page with a video or image as the background and also some custom formatted text, example here. If you want you can just use the image or video background without any text but if you want the text to appear over the background image or video just copy and paste the HTML template from the text editor right side and paste it in the text editor and of course change the text with your own.
To use this create a new page and set the page attributes to homepage with video or image background, publish the page and test.
Portfolio classic grid homepage
This page type is displaying the portfolio in a classic grid type, example here.
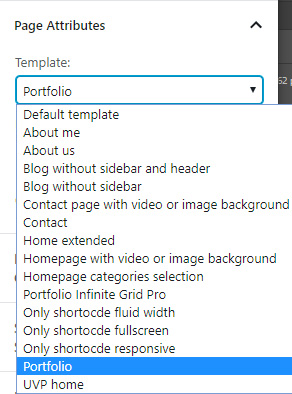
To use this page type create a new page and set the page attributes to portfolio, publish the page and test.
Portfolio infinite grid homepage
This page type is displaying the portfolio in an infinite grid type, please note that it will only work if all the projects categories have a minimum of nine projects, example here.
To use this page type create a new page and set the page attributes to portfolio infinite grid pro, publish the page and test.
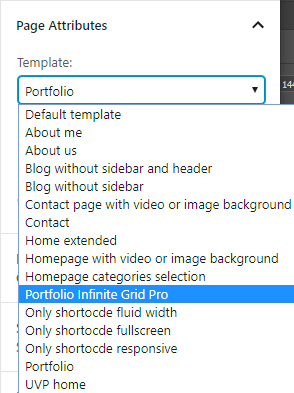
Image slider homepage
This page type is using an optimized version specially made for this theme of Simple Image Slider Carousel. I will call it SISC for simplicity example 1 here, example 2 here.
Plase note since this is a plugin the images size optimization doesn't apply here so make sure you use the best quality images the ones that I talked about in the important notes section with a size between 1800px and 2200px, of course you can use smaller size or larger size if you like but in my tests this was the best result for image sizes, they look good on PC and also on mobile devices.
A full video tutorial about how to use this plugin can be found here, please note there are some minor differences between the Acora version and the video tutorial version but the concept is the same. If you want to use this slider please watch the video tutorial.
To use this page type create a new page and set the page attributes to only shortcode fluid width, add a new preset in the SISC general settings tab and set the display type to after parent.
After doing this and also adding a SISC playlist, add the shortcode in the page that you just created, publish the page and preview.
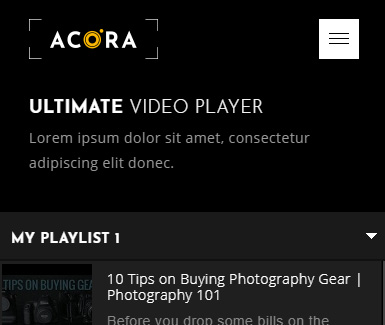
Ultimate Video Player homepage
This page type is using an optimized version specially made for this theme of Ultimate Video Player. I will call it UVP for simplicity example here
A full video tutorial about how to use this plugin can be found here, please note there are some minor differences between the Acora version and the video tutorial version but the concept is the same. If you want to use UVP please watch the video tutorial.
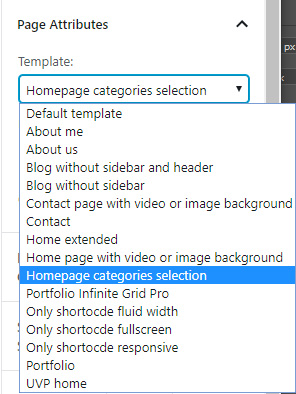
To use this page type create a new page and set the page attribute to UVP Home, add a new preset in the UVP general settings tab and set the display type to after parent.
It is also possible to add a short info at the top right part of the playlist this is done in the UVP Home page at the bottom in the Ultimate Video Player Homepage meta box, if you don't want this just leave it empty.
After doing this and also adding one or more UVP playlists, add the shortcode in the page that you just created, publish the page and preview.
07. Pages
Acora has a few custom pages like about us, about me clients and contact us, this pages are described in detail below, please note that this pages can also be set as a home page.
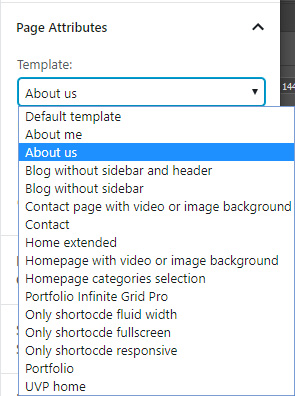
About us page
The about us page is a dedicated page for Acora that has multiple sections that can be added or removed. To create this type of page create a new page and set the the page attribute to about us, scroll down to see the about us settings, as a side note unfortunately this type of page is impossible to be built with blocks or a visual editor because of the its structure and design so I had to create a custom page builder that works well and is easy to use, all section of this page are explained in order below.
The images in this page are optimized by the theme, Acora is creating custom size images for this sections so just use any image from the library, be assured that the page will load fast and perform well.
Please make sure that all HTML text is added in the text editor not the visual editor.
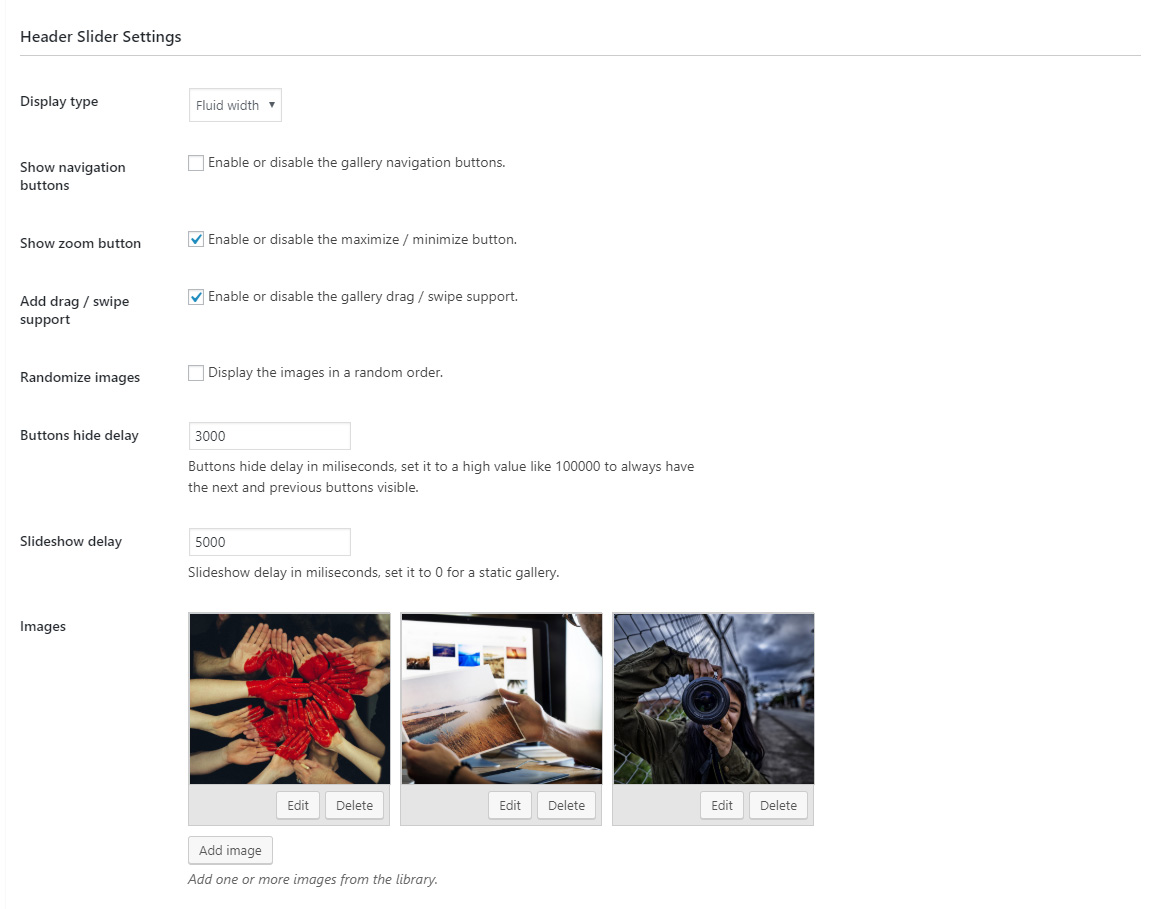
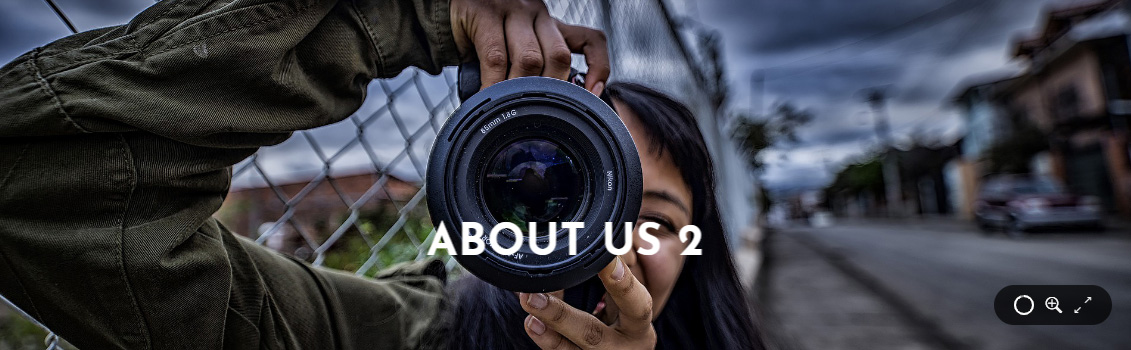
Header slider
This section allows to add one or more images to create a header slider, if you don't want o use this section don't add any image. Please make sure you use the best quality images the ones that I talked about in the important notes section with a size between 1800px and 2200px, of course you can use smaller size or larger size if you like but in my tests this was the best result for image sizes, they look good on PC and also on mobile devices also in this case the image is best to have a landscape format.
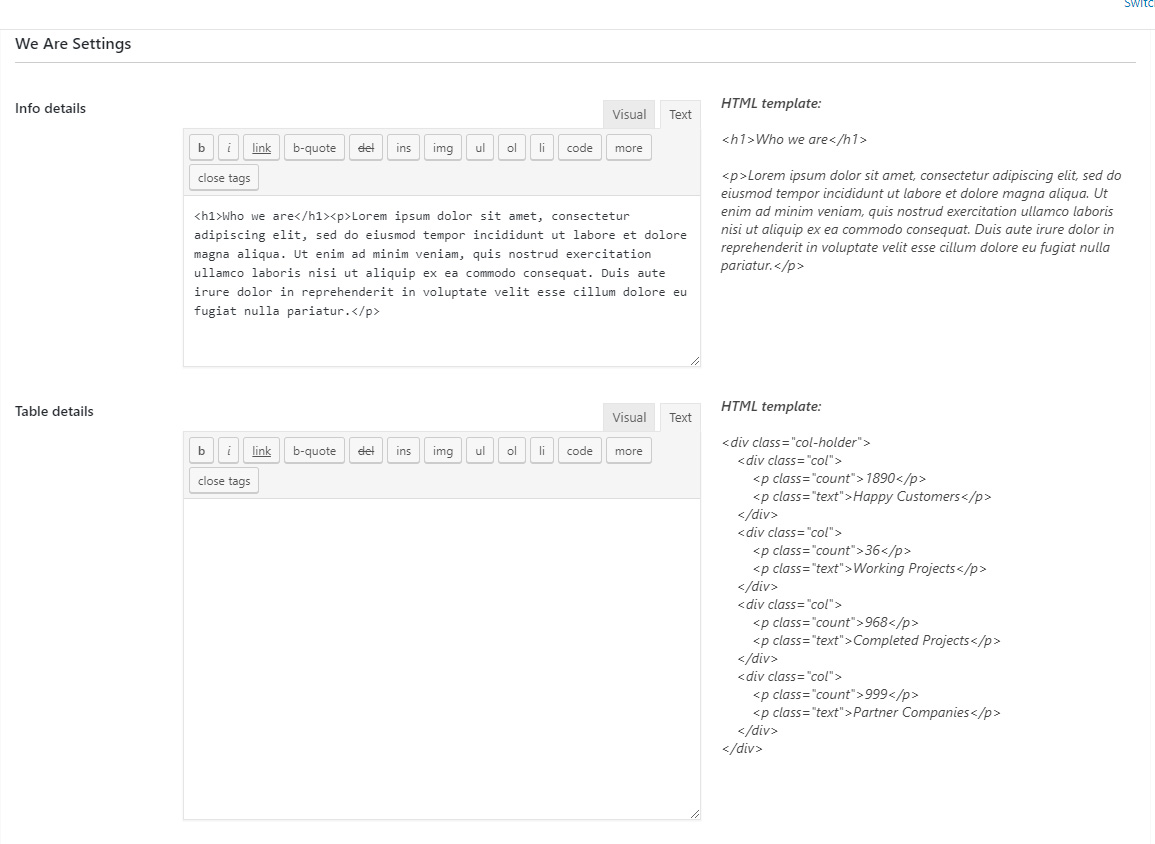
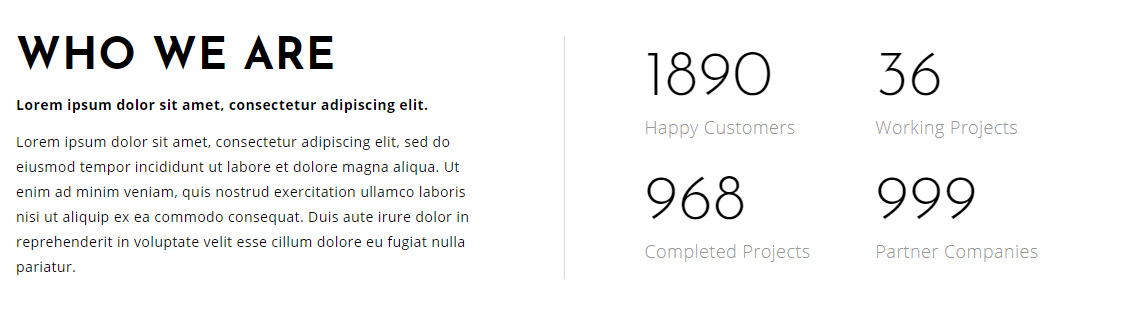
We are
This section allows to add two columns one with some info text and the other one some info in a form of a grid, both are optional so it is possible to display both columns, just one colum or none, just copy and paste the HTML template from the text editor right side and paste it in the text area and of course change the text with your own. If you don't need this section leave the info details text editor empty.
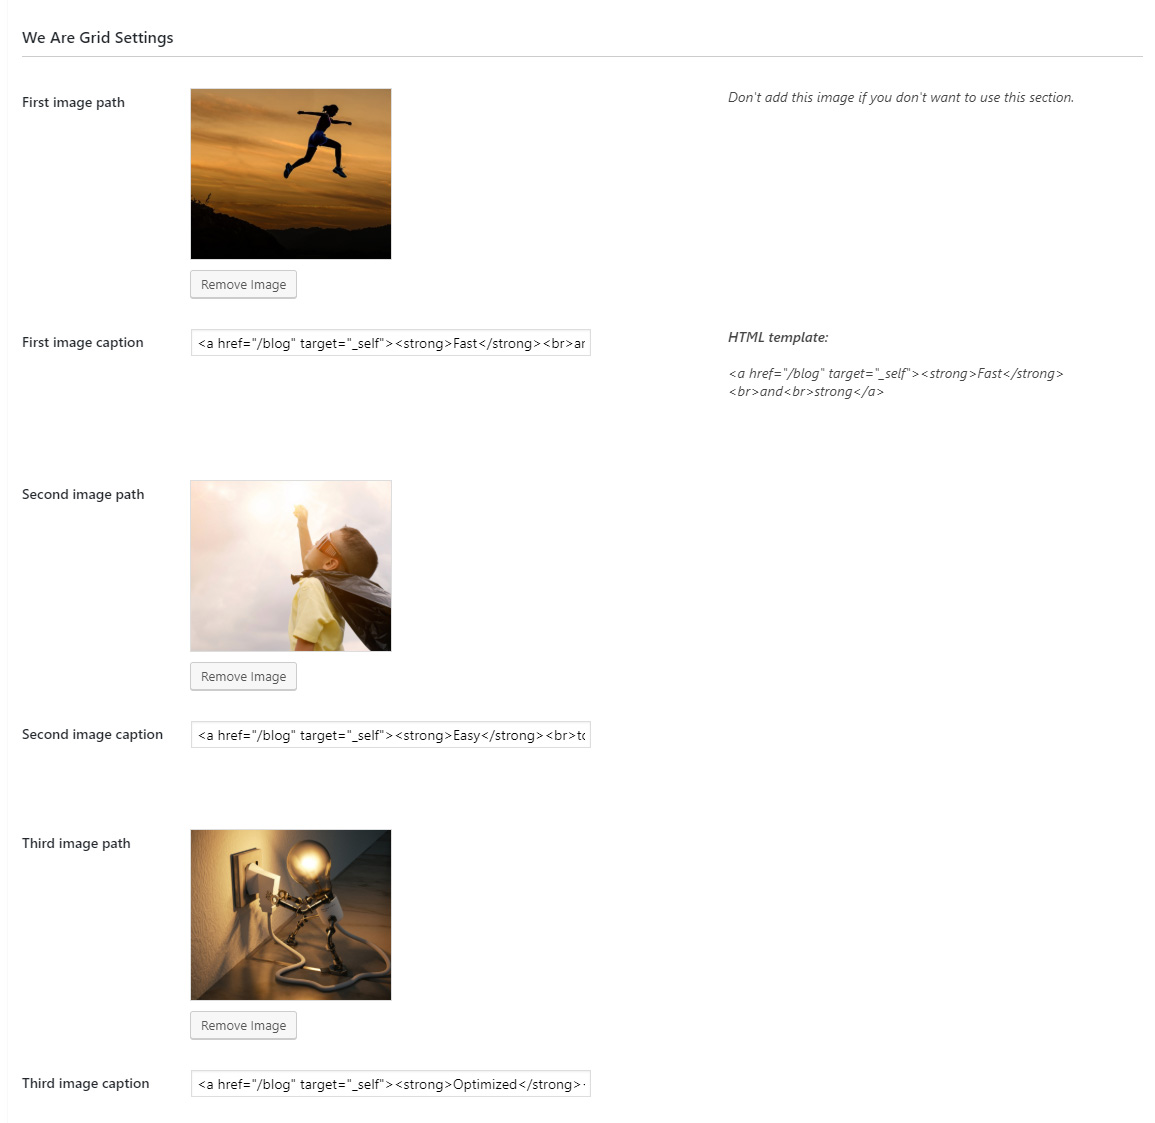
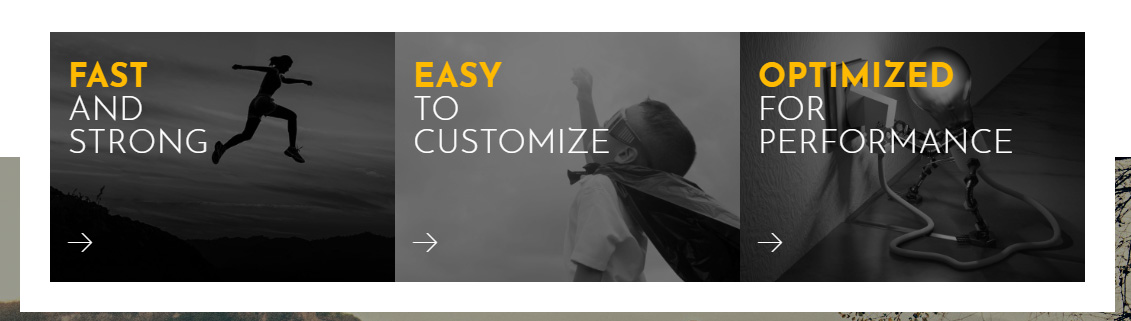
We are grid
This section allows to add one or three images in grid format, also if you like a custom link and text can be set for each image and when clicked it will open a new page, if you want this link just copy and paste the HTML template from the right side of the first image caption input and paste it in the first, second or third image caption input depending on which one you use, of course change the link text with your own. If you don't want this section don't add the first image.
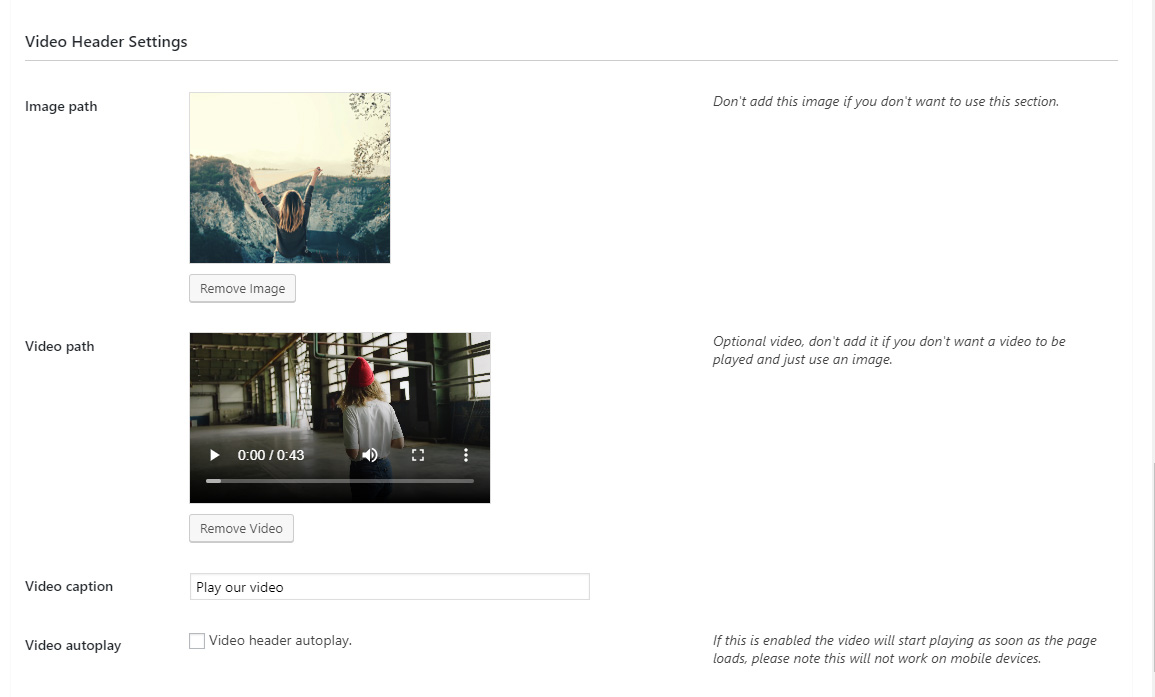
Video header
This section allows to add a fluid width image and if you want a video with a caption, please note that the video and caption are optional, if you don't want them just dont't add them. If you don't want to use this section don't add an image from the media library.

Details grid
This section allows to add one or tow rows, each row can have two columns one with an image and one with custom styled text, for the text just copy and paste the HTML template from the text editor right side and paste it in the text area and of course change the text with your own. If you don't want to use this sections don't add any image from the library.

Details grid
This section allows to add one or more team member image from the media library and also some info about the team member, there are two grid types minimal and extended, choose the one that you want to use, add as many team members as you like and add custom info for them. If you don't want to use this section don't add any team member.
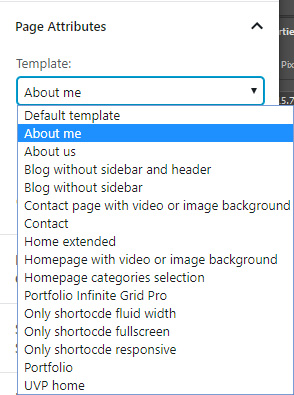
About me page
The about me page is a dedicated page for Acora that has multiple sections that can be added or removed. To create this type of page create a new page and set the the page attribute to about me, scroll down to see the about me settings, as a side note unfortunately this type of page is impossible to be built with blocks or a visual editor because of the its structure and design so I had to create a custom page builder that works well and is easy to use, all section of this page are explained in order below.
The images in this page are optimized by the theme, Acora is creating custom size images for this sections so just use any image from the library, be assured that the page will load fast and perform well.
Please make sure that all HTML text is added in the text editor not the visual editor.
Header slider
This section allows to add one or more images to create a header slider, if you don't want o use this section don't add any image. Please make sure you use the best quality images the ones that I talked about in the important notes section with a size between 1800px and 2200px, of course you can use smaller size or larger size if you like but in my tests this was the best result for image sizes, they look good on PC and also on mobile devices also in this case the image is best to have a landscape format.

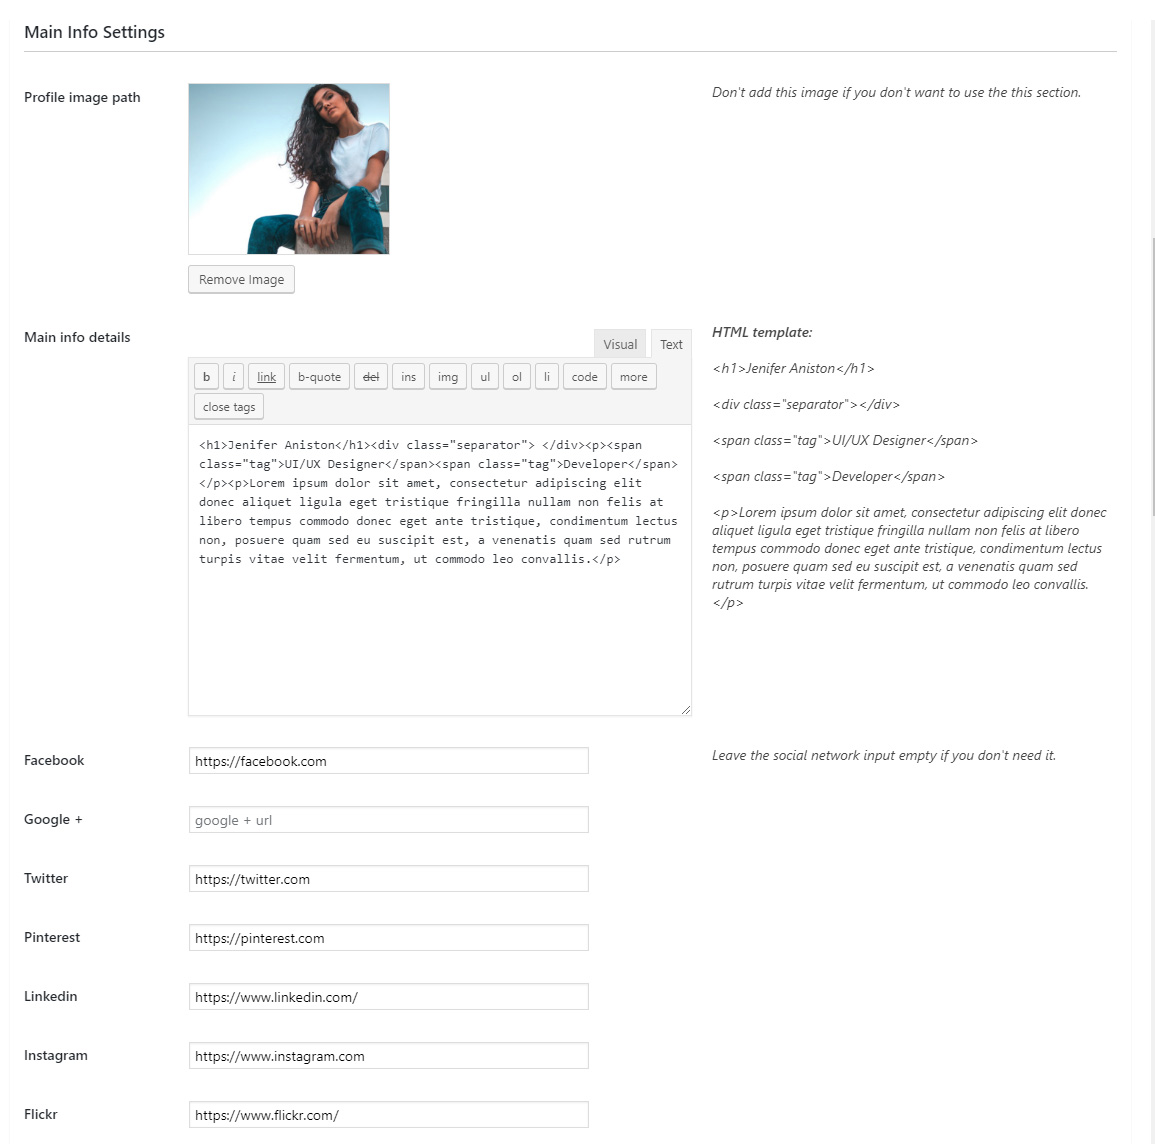
Main section
In this section is possible to add an image and some text about you, the image has have a light background for the entire text to be readable so plese keep this in mind when choosing the image, also text and social sharing links can be added here. For the more info details just copy and paste the HTML template from the text editor right side and paste it in the text area and of course change the text with your own. If you don't want to use this section don't add an image from the media library.
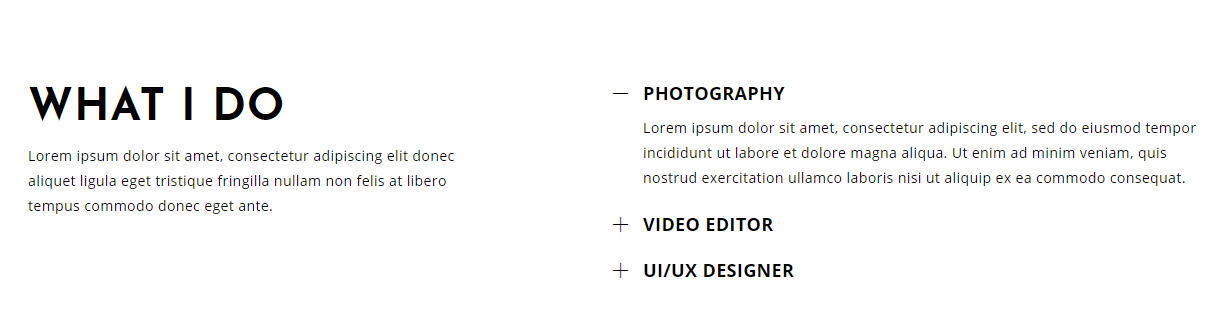
What I do
This section allows to add one or two columns of text the frist colum is adding standard text, here is a good place to add some info about you, if you want the second column as well it is possible to add a cusotm made accordion. For each column just copy and paste the HTML template from the text editor right side and paste it in the text area and of course change the text with your own. If you don't want to use this section leave the text first column text editor empty.
Clients
The clients section allows to add logo images that will run with a smooth linear animation also there is nice black and white effect on hover, you can add as many as you like. If you don't need this section don't add any client.
Our work
This section allows to one or two infinite one row grid carousels, the category can be set using the select box. For the text copy and paste the HTML template from the text editor right side and paste it in the text editor and of course change the text with your own. If you don't want to use this section set the grid category 1 to none.

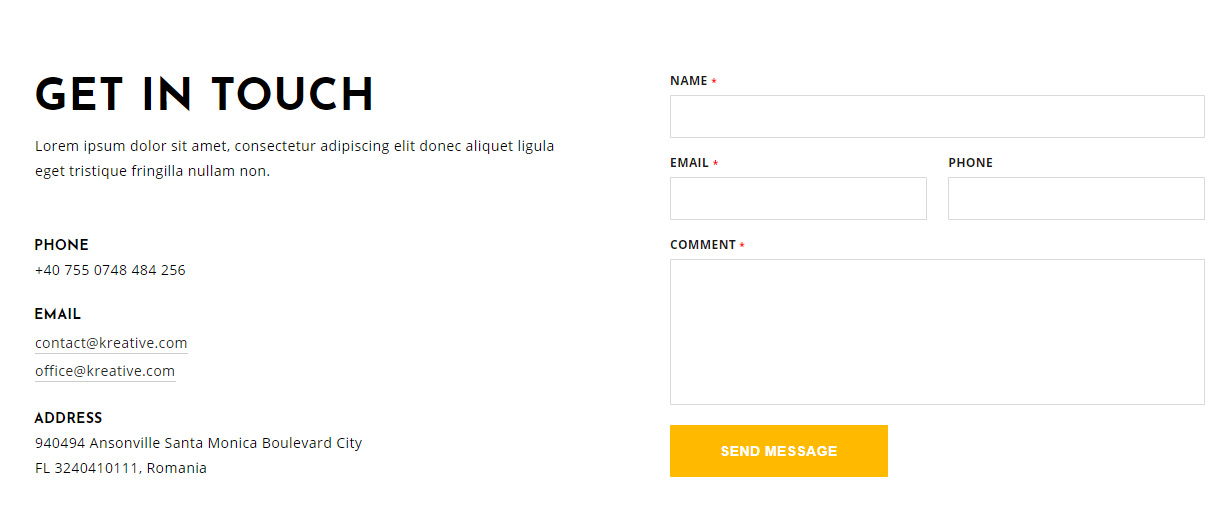
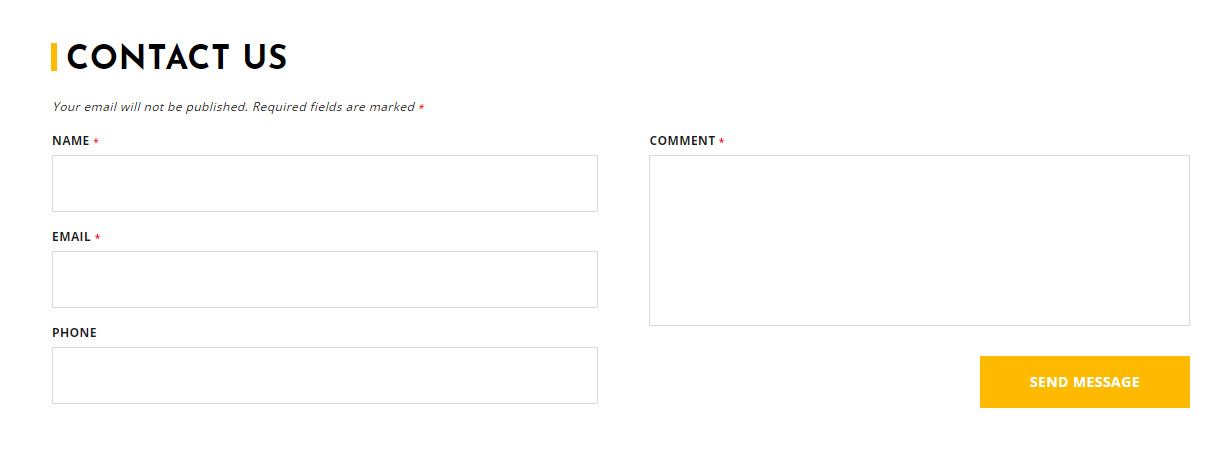
Get in touch
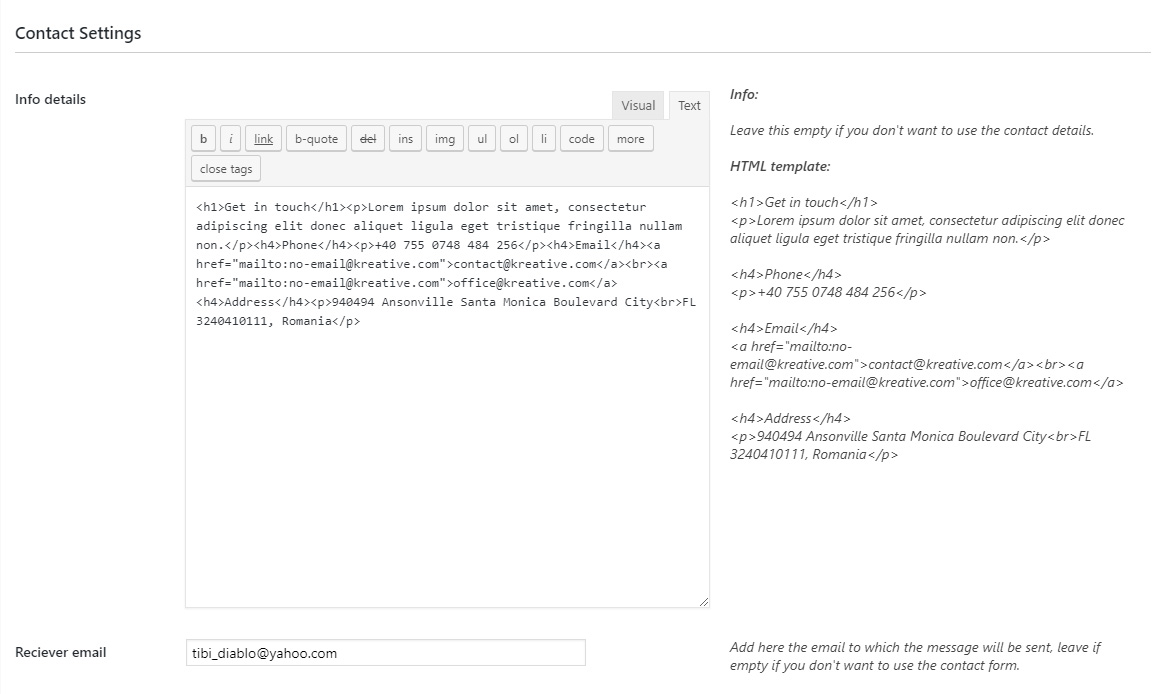
This sction allows to add two columns one with some info and the other one a contact form, they are both optional and if you like you can use just one of them. For the info column just copy and paste the HTML template from the text editor right side and paste it in the text area and of course change the text with your own. For the contact form if you want to use it add your meial in the receiver email input, the messages will be sent to this email, if you don't want to use the contact form don't add any email. If you don't want to use this section info details empty.
Clients page
This page is using an optimized version specially made for this theme of Simple Image Slider Carousel. I will call it SISC for simplicity. Here is an example of this page.
A full video tutorial about how to use this plugin can be found here, please note there are some minor differences between the Acora version and the video tutorial version but the concept is the same. If you want to use this slider or this page please watch the video tutorial it is very important.
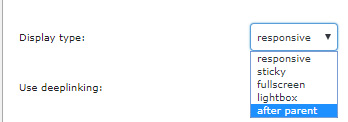
After watching the video tutorial and understanding how this slider works, in your preset change the display type to after parent, the thumbnail maximum width and thumbnail maximum height to a size that you want, I've used 300px for the maximum width and 260px for the maximum height and also set enable visited thumbnails to yes, this way once a thumbnail is clicked it will be faded out and the user will see that he already opened that client page.
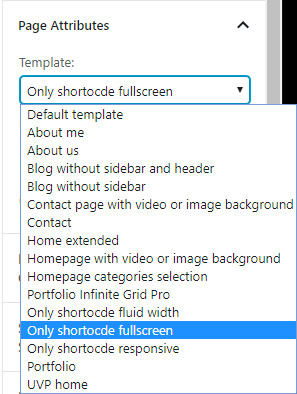
To create this type of page create a new page and set the the page attribute to only shortcode fullscreen and add the shortcode of SISC, publish and save the page.

Contact us page
This page creates a custom contact us page where it is possible to add a google map with your location, one or two columns of text one frmatted for a short info and the other for the address and a contact form.
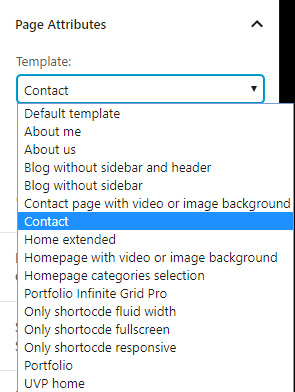
To create this type of page create a new page and set the the page attribute to contact publish and save the page and add enable the section that you want, all section of this page are explained in order below.
Please make sure that all HTML text is added in the text editor not the visual editor.
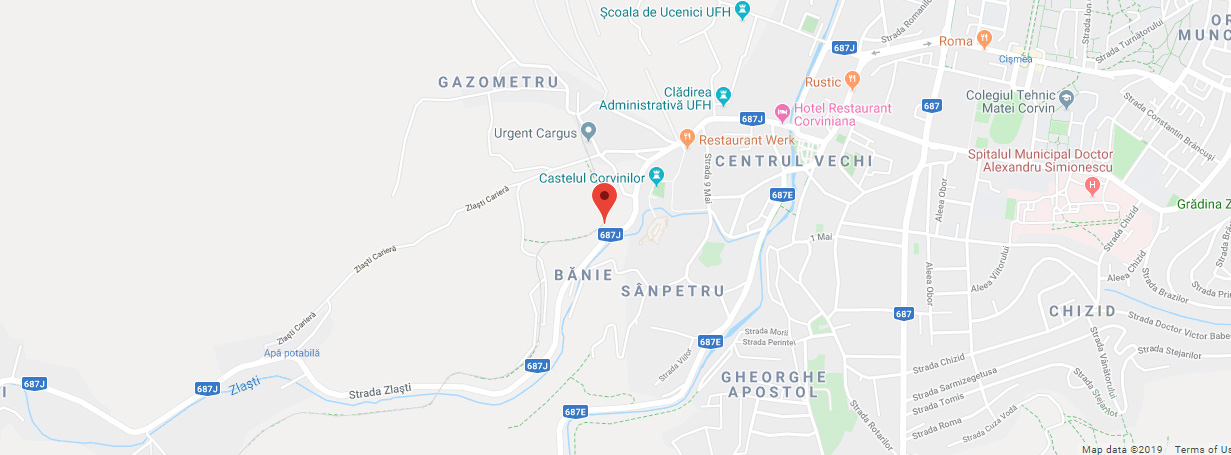
Map
This section allows to add a fluid width google map, you will need the lat and long of the map, if you want to use it just add the lat and long in the location latitude and location longitude input, if you don't want to use the map leave the lat input to empty or no map.

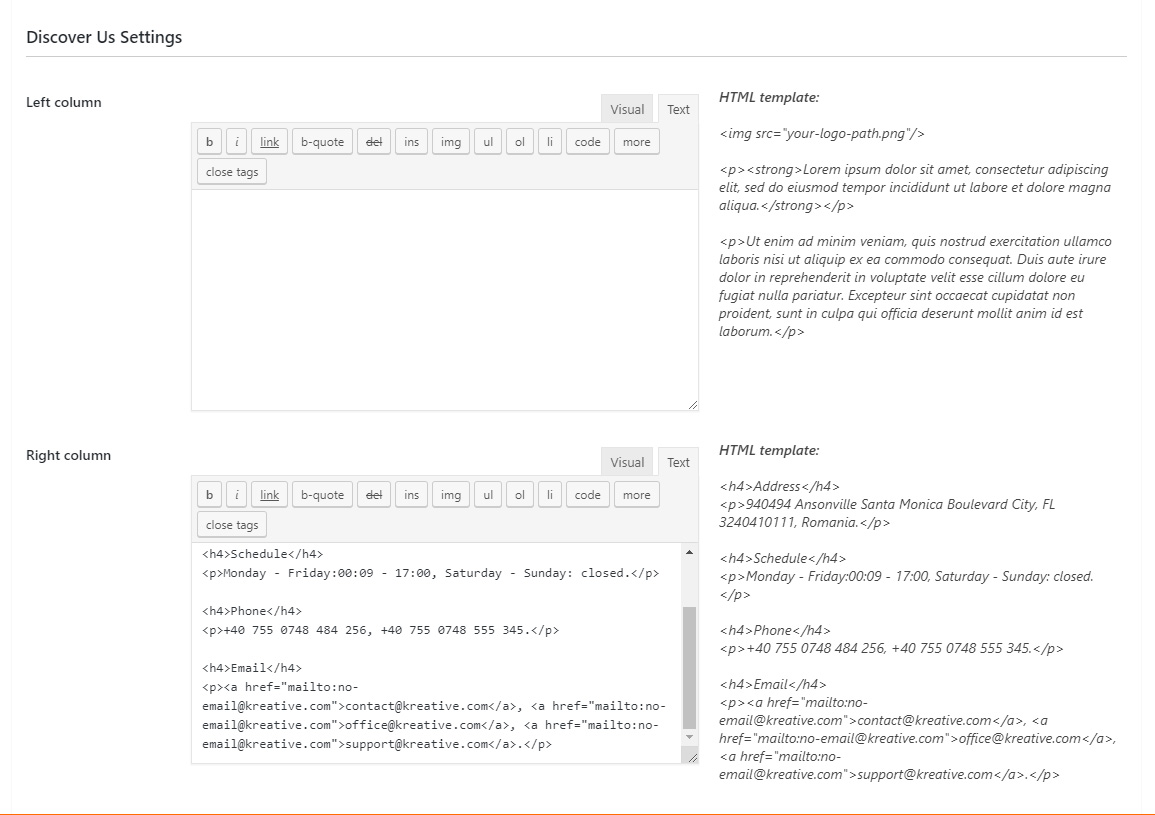
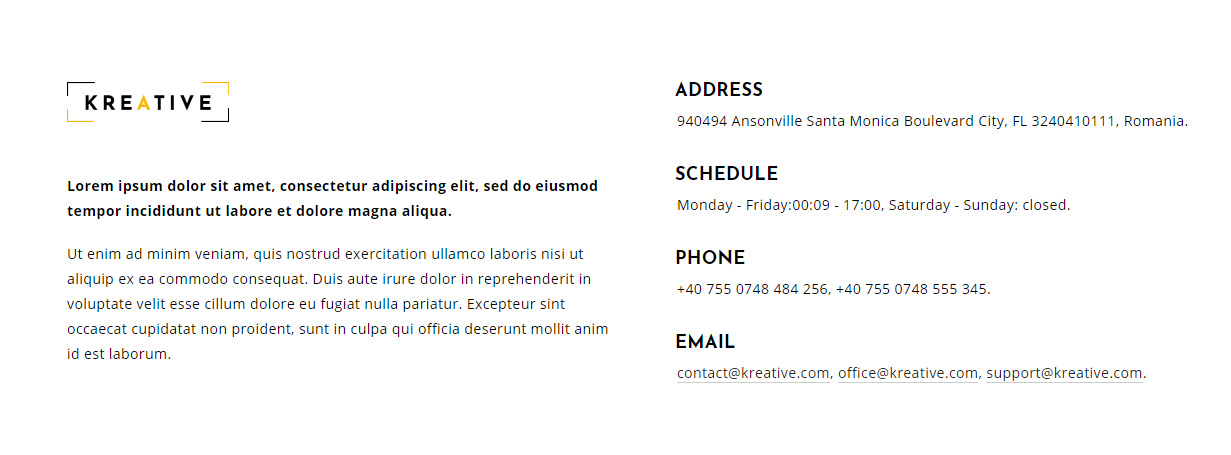
This section allows to add one or two columns of text the first is used to add a short info and the second column address, email and other contact info, both are optional, just copy and paste the HTML template from the text editor right side and paste it in the text area and of course change the text with your own, if you don't want to use them just leave the text editor empty.
Write us
This section allows to add a contact form, if you want to use it add in the reciever email input the email address to which the message is sent, your email address, if you don't want to use this section leave the form title input empty.

Contact us video or image background page
This page type is displaying a full width and height page with a video or image as the background and also some custom formatted text, example here. If you want you can just use the image or video background without any text but if you want the text to appear over the background image or video just copy and paste the HTML template from the text editor right side and paste it in the text editor and of course change the text with your own. Please note that there are two buttons in the HTML template one for the contact form and one for the map, the receiver email and map lat and long are added directly in the HTML template, this is self explanatory, the HTML template can be found on the right side of the text editor, just copy and paste the text in the text editor and change the text with your own info.
The logo image path you can get that from the media library, go to media library click on the logo image then copy the logo path and paste as the src of the logo image from the HTML template.
To use this page create a new page and set the page attributes to contact page with video or image background, publish the page and test.
08. Shortcodes
Acora theme comes with a handfull set of shortcodes. Use them in your posts, pages opr portfolio to embed extra functionality. The demo of all the shortcodes and their codes can be found on Acora Demo page.
Accordion
[accordion]

 [panel title="Panel #1"]
 First panel text ...
 [/panel]

 [panel title="Panel #2"]
 Second panel text ...
 [/panel]

 [panel title="Panel #3"]
 Third panel text ...
 [/panel]

[/accordion]
Tabs
[tabs]

 [tab title="First Tab"]
 First tab text …
 [/tab]

 [tab title="Second Tab"]
 Second tab text …
 [/tab]

 [tab title="Third Tab"]
 Third tab text …
 [/tab]

[/tabs]
Audio Player
Audio player supports these parameters:
video_source - the mp3 source, add it from library or external source.
max_width - the player max width in px.
[video video_source="your-audio.mp3" max_width=1300]
Video Player
Video player supports these parameters:
video_source - the video source (mp4, youtube video url, vimeo video url, hls/m3u8), add it from library or external source.
subtitle_source - the subtitle source (.srt or .txt), add it from library or external source, if you don't need a subtitle leave this parameter blank.
max_width - the player max width in px.
max_height - the player max height in px.
[video video_source="your-video.mp4" poster_source="your-poster.jpg" subtitle_source="your-subtitle.srt" max_width=1300 max_height=750]
Quote
Quote supports these parameters:
quote - the quote, add as much text as you need.
author - the quote author. If you don't need it just leave it empty.
[quote quote="your quote" author="quote author"]
Button
Button supports these parameters:
url - the button url, it will open that page in a new or the same window.
target - the window target, _self if you want the new window to open in the same window, _blank for a new window.
background-color - the button background color in hex format.
color - the button text color in hex format.
size - the button size, normal, medium, large.
[button url="http://www.webdesign-flash.ro" target="_blank" background-color="#0099FF" color="#FFF" size="normal"]Button #1[/button]
09. Theme Options
Theme options contains general settings for Acora. The options in this sections are self explanatory, they all have tooltips on the right side.

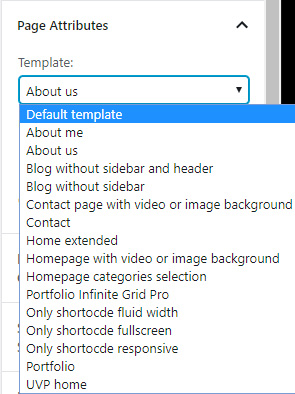
10. Theme Templates
Acora comes with many template files that you can assign to every page, most of them were explained in the above section. Assigning any of these templates to a page will change it’s looks or functionality.
Default template - this is the default template for a page.
About me - Create an about me page.
About us - Create an about us page.
Blog without sidebar and header - Create a blog page without sidebar and header.
Blog without sidebar - Create a blog page without sidebar.
Contact - Create a contact us page.
Home extended - Creates a extended homepage.
Homepage with video or image background - Creates a homepage with video or image background.
Home categories selection - Creates a fullscreen homepage with categories selection.
Portfolio Infinite Grid Pro - Create a contact portfolio page with an infinite grid.
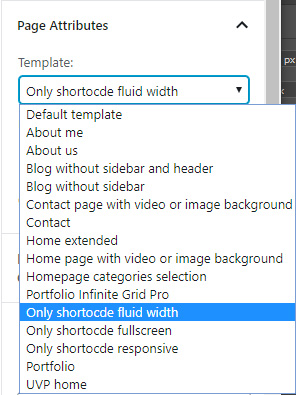
Only Shortcode Fluid Width - Allows to create a page that will only display the content of a shortcode in fluid width, it is used to display galleries. I explain this in details in the video tutorial related to galleries.
Only Shortcode Full Screen - Allows to create a page that will only display the content of a shortcode in full screen, it is used to display galleries. I explain this in details in the video tutorial related to galleries.
Portfolio - Creates a portfolio classic grid page.
UVP home - Creates a fullscreen homepage with the Ultimate Video Player.
11. Theme Files
If you are willing to modify theme files you will find many helpful comments in every file. Modifying the files will impact the ability to update this theme in future. To prevent this be sure that you place your modifications in special files.
Modify CSS
To make quick CSS modification you can do that in the css → style.css, add your new styles at the end of the file or modify the current styles.
If you are going to make a major CSC modification is best to use the Child Theme provided in the download files, this way when a theme update will be available you will not lose your modificaion.
CSS Files
admin.css – used for the backend Acora configuration.
global.css – contains reset file and default styles for tags.
style.css – contains all the theme styles.
chrome-scrollbar.css – used to style the chrome browser scrollbar.
Javascript Files
There are many js files included but the one that interests you as theme used is js/front.js, in this file is all the code the theme uses to display content so if you want to make any modifications this is the file that you want to change.
12. FAQ
How to update theme
Automatic Update
To have access to updates use the Envato Market WordPress Plugin, install the plugin and follow the instructions on this page, once a new update is ready you will be notified in the dashboard and you can install it. One extra step that has to be done after the update is ready is to uninstall and remove the Acora Settings plugin and install it again. That's it your update is ready.
Manual Update
Connect to your website using FTP client. Navigate to wp-content/themes folder. There you should see acora folder. It contains the Acora WordPress Photography Theme files. Rename that acora folder to something like acora_old. This will allow you to have a backup. Now upload the new files by extracting the downloaded archive and only upload the acora folder to wp-content/themes.
After this is done uninstall the Acora Settings, Simple Image Slider Carousel, Infinite Grid and Ultmimate Video Player plugins and install them again using the Install required plugins section as explained in the installing the theme settings.
How to change fonts
Acora is using the google font called Josefin for the heading and Open sans for the text, to change the fonts open the theme-support.php file in a text editor and replace the font.

Open blog_front.css and replace every occurrence of Jura to your new font name that is going to be used for content.
How to translate theme?
Acora is translatable using .po and .mo files, which is the official way of translating WordPress themes and plugins.
Before starting make sure you have downloaded a free tool POEdit. It is available for both OS X and Windows.
Using FTP client connect to your website and download English translation file that was included with Acora theme. Find it under: wp-content/themes/acora/languages/acora.pot.
On your local computer rename the acora.pot file to de_DE.po (the convention is: language code followed by “_” followed by country code in capital letters).
Open de_DE.po file with POEdit and use it to translate the strings.
When done translating save the file. POEdit will save the translations to de_DE.po and in addition it will generate a de_DE.mo which will be used by WordPress.
Upload de_DE.mo to wp-content/themes/acora/languages/de_DE.mo.
The translations are there, now we need to tell WordPress to use the new German language. The easiest way is to upload a copy of our de_DE.mo file to wp-content/languages/de_DE.mo (create that folder if it doesn’t exists). Then login to WordPress Admin section and go to Settings > General on the bottom there is “Site Language” setting. Change it to “Deutsch” and click “Save Changes”.
The above explantion was for the front end, for the backend a plugin is used the same steps have to be done only in the wp-content/plugins/acora-settings/languages/acora.pot, in the plugin case the acora.pot has to be renamed to acora-de_DE.po or some other language based on you settings.
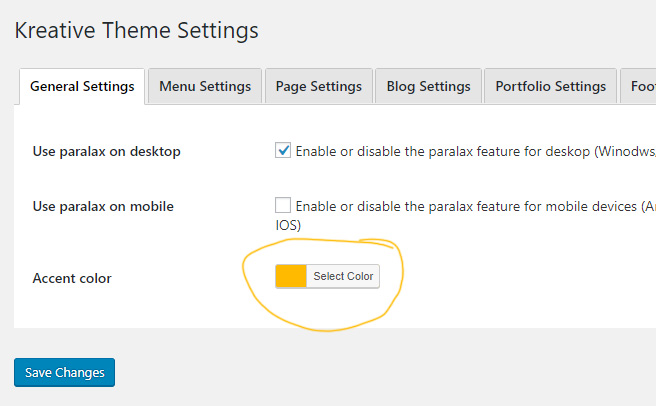
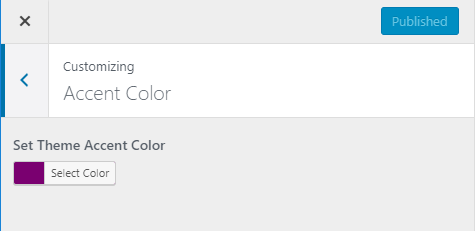
How to change accent color?
Acora is using a main color that is used as an accent color, this color can be set in the theme admin panel → General Settings or using the WordPress Customizer.
What is the best size for images?
Acora is built to be able to handle any image format or type, I advice to use images around 1800px in width or height based on their format, 2500px is a good size it will load fast and it will look perfect on all screens. All you need is one large image the rest of the images like thumbnails are created by the theme.
Acora is creating multiple image versions of the original images that are uploaded, this is done to improve loading time and overall performance. If your media library has any images that were there before installing the theme they need to be regenerated, this is done by using a plugin in the theme, go to Tools → Regenerate Thumbnails and click on Regenerate Thumbnails For All Attachments button and wait for the regenerate process to complete.
13. Need More Help?
If you have any questions or support requests pelase write to me directly at tibi_diablo@yahoo.com.
This theme was made by Tibi from FWD.